


Preparing for Beauty: 5 Steps I Take Before I Design
Are you a preparer?
In my personal and professional life alike, I sometimes get started on a task, only to wish I had done some preparation first. If only I had stepped back, slowed down, and thought through, I would have better set myself up for success. Can you relate?
When designing, of course, design theory, experience, and instincts contribute to success. But when I got down to it, I realized there are a good deal of tried-and-true, repeatable steps that help prepare me to make consistently great designs.
And, believe it or not, whether you are a seasoned professional or someone who wants to arrange their garden-grown flowers into a lovely countertop vase arrangement, the basic steps are essentially the same.
So let’s talk about the steps in detail!

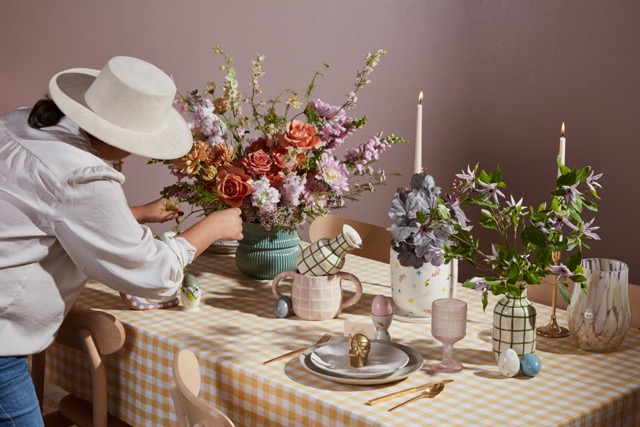
1. Visualize, Conceptualize, Contextualize
When it comes to flower arranging, I can not stress this enough: thinking through your arrangement before you hit the design table will really help you bring your vision to life!
Before you design, consider:
- The season: what’s available? What’s stylistically appropriate? What colors make sense in the season?
- The occasion: is it festive and colorful, romantic and moody, refined and elegant? What floral elements and colors will best communicate the energy of the occasion?
- The final placement of the design: Does your palette complement the space? Is it a large space, requiring more line flowers to draw the eye up? If the design is too tall, will it obstruct conversation or block a key visual moment (the big kiss or table conversation)?
- The container: will it require particular mechanics? Will those mechanics need greenery to cover them? How will you ensure the design stays in proportion to the vessel with your flower choices/budget?
- How does the environment affect the design? Will it be windy, and need to be extra secure? Will it be very warm, and bloom hardiness & bloom hydration needs to be prioritized?
Talking yourself through considerations such as these will help you contextualize and conceptualize your design, ensuring a successful look. If you are struggling to see it in your mind’s eye, don’t be afraid to grab a piece of paper and some colored pencils and put some thoughts down!

Once you have a thorough vision, it will serve as the guidelines for every step of the design process, from selecting your blooms to placing them in the container. It will make each micro-decision more intentional and less confusing or complicated!
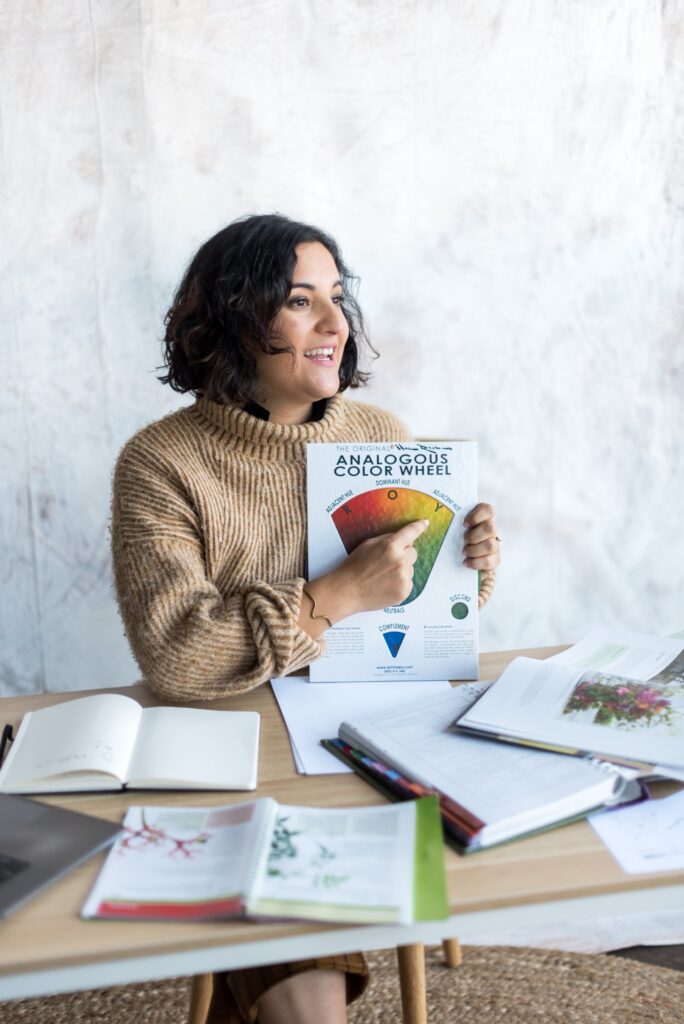
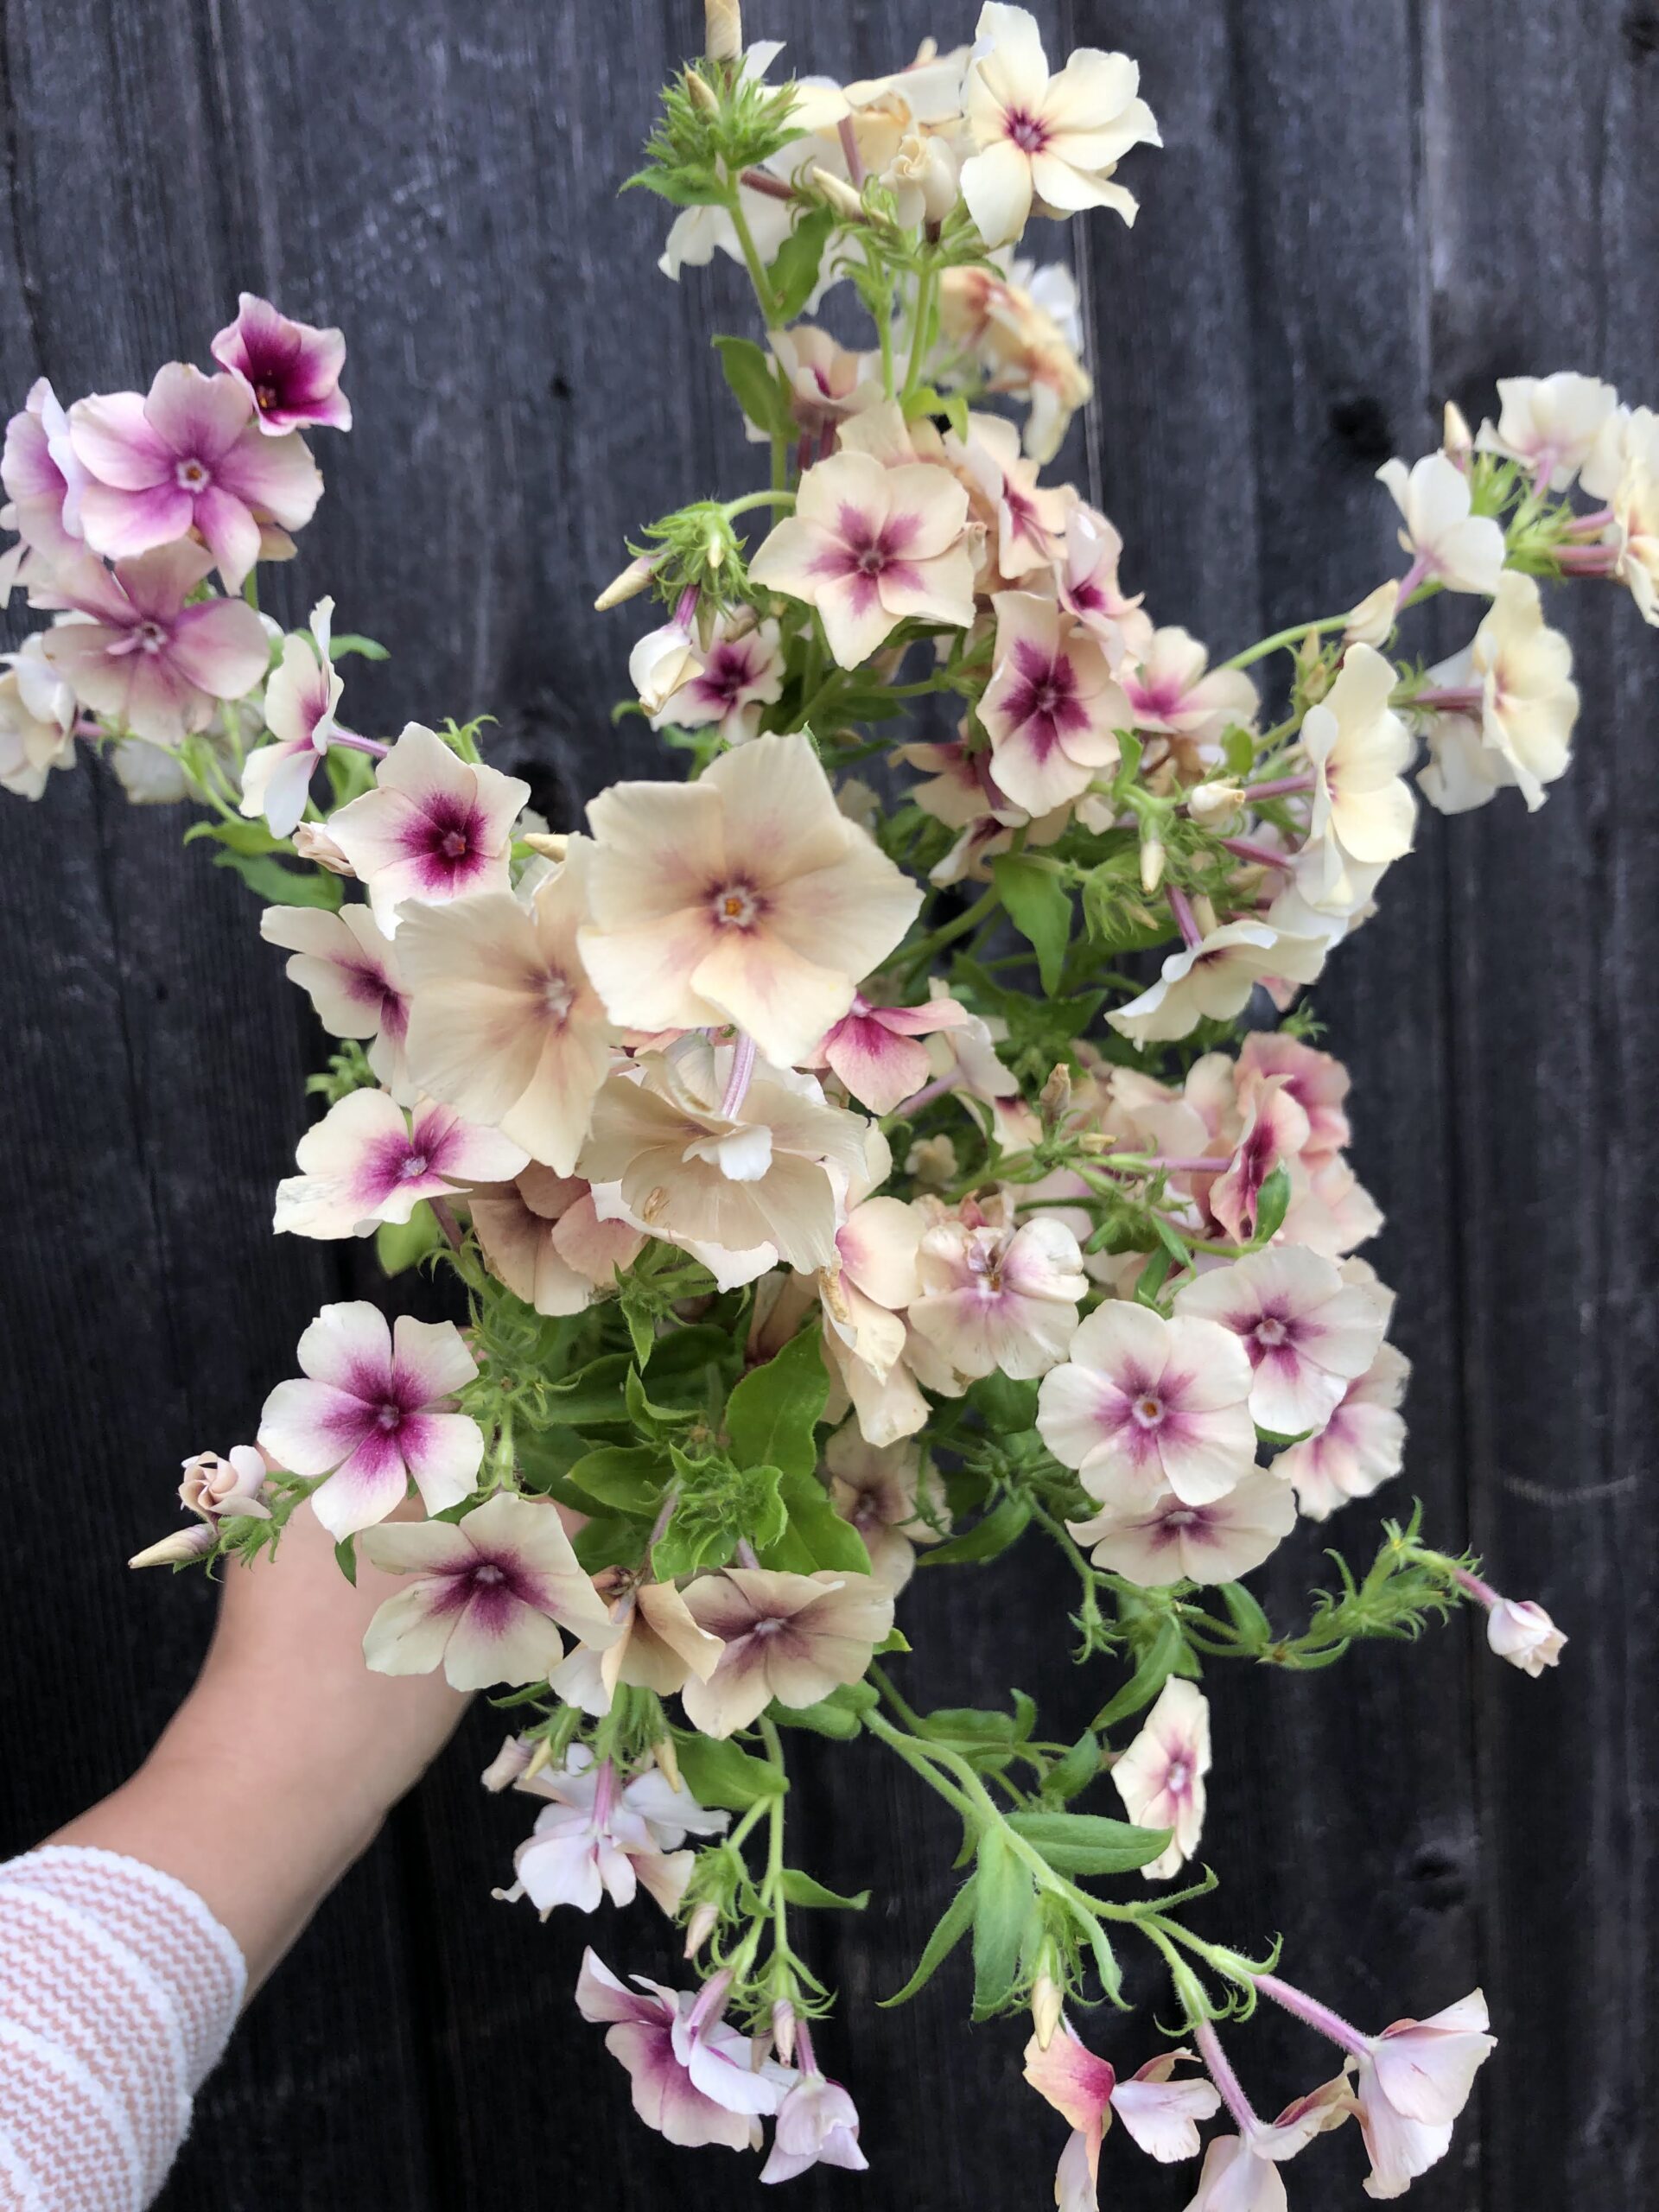
2. Develop Your Color Palette
Now that you have a vision and context for your design, it’s time to develop your color palette. As mentioned above, the season, theme, and feel of the occasion can greatly inform your palette.
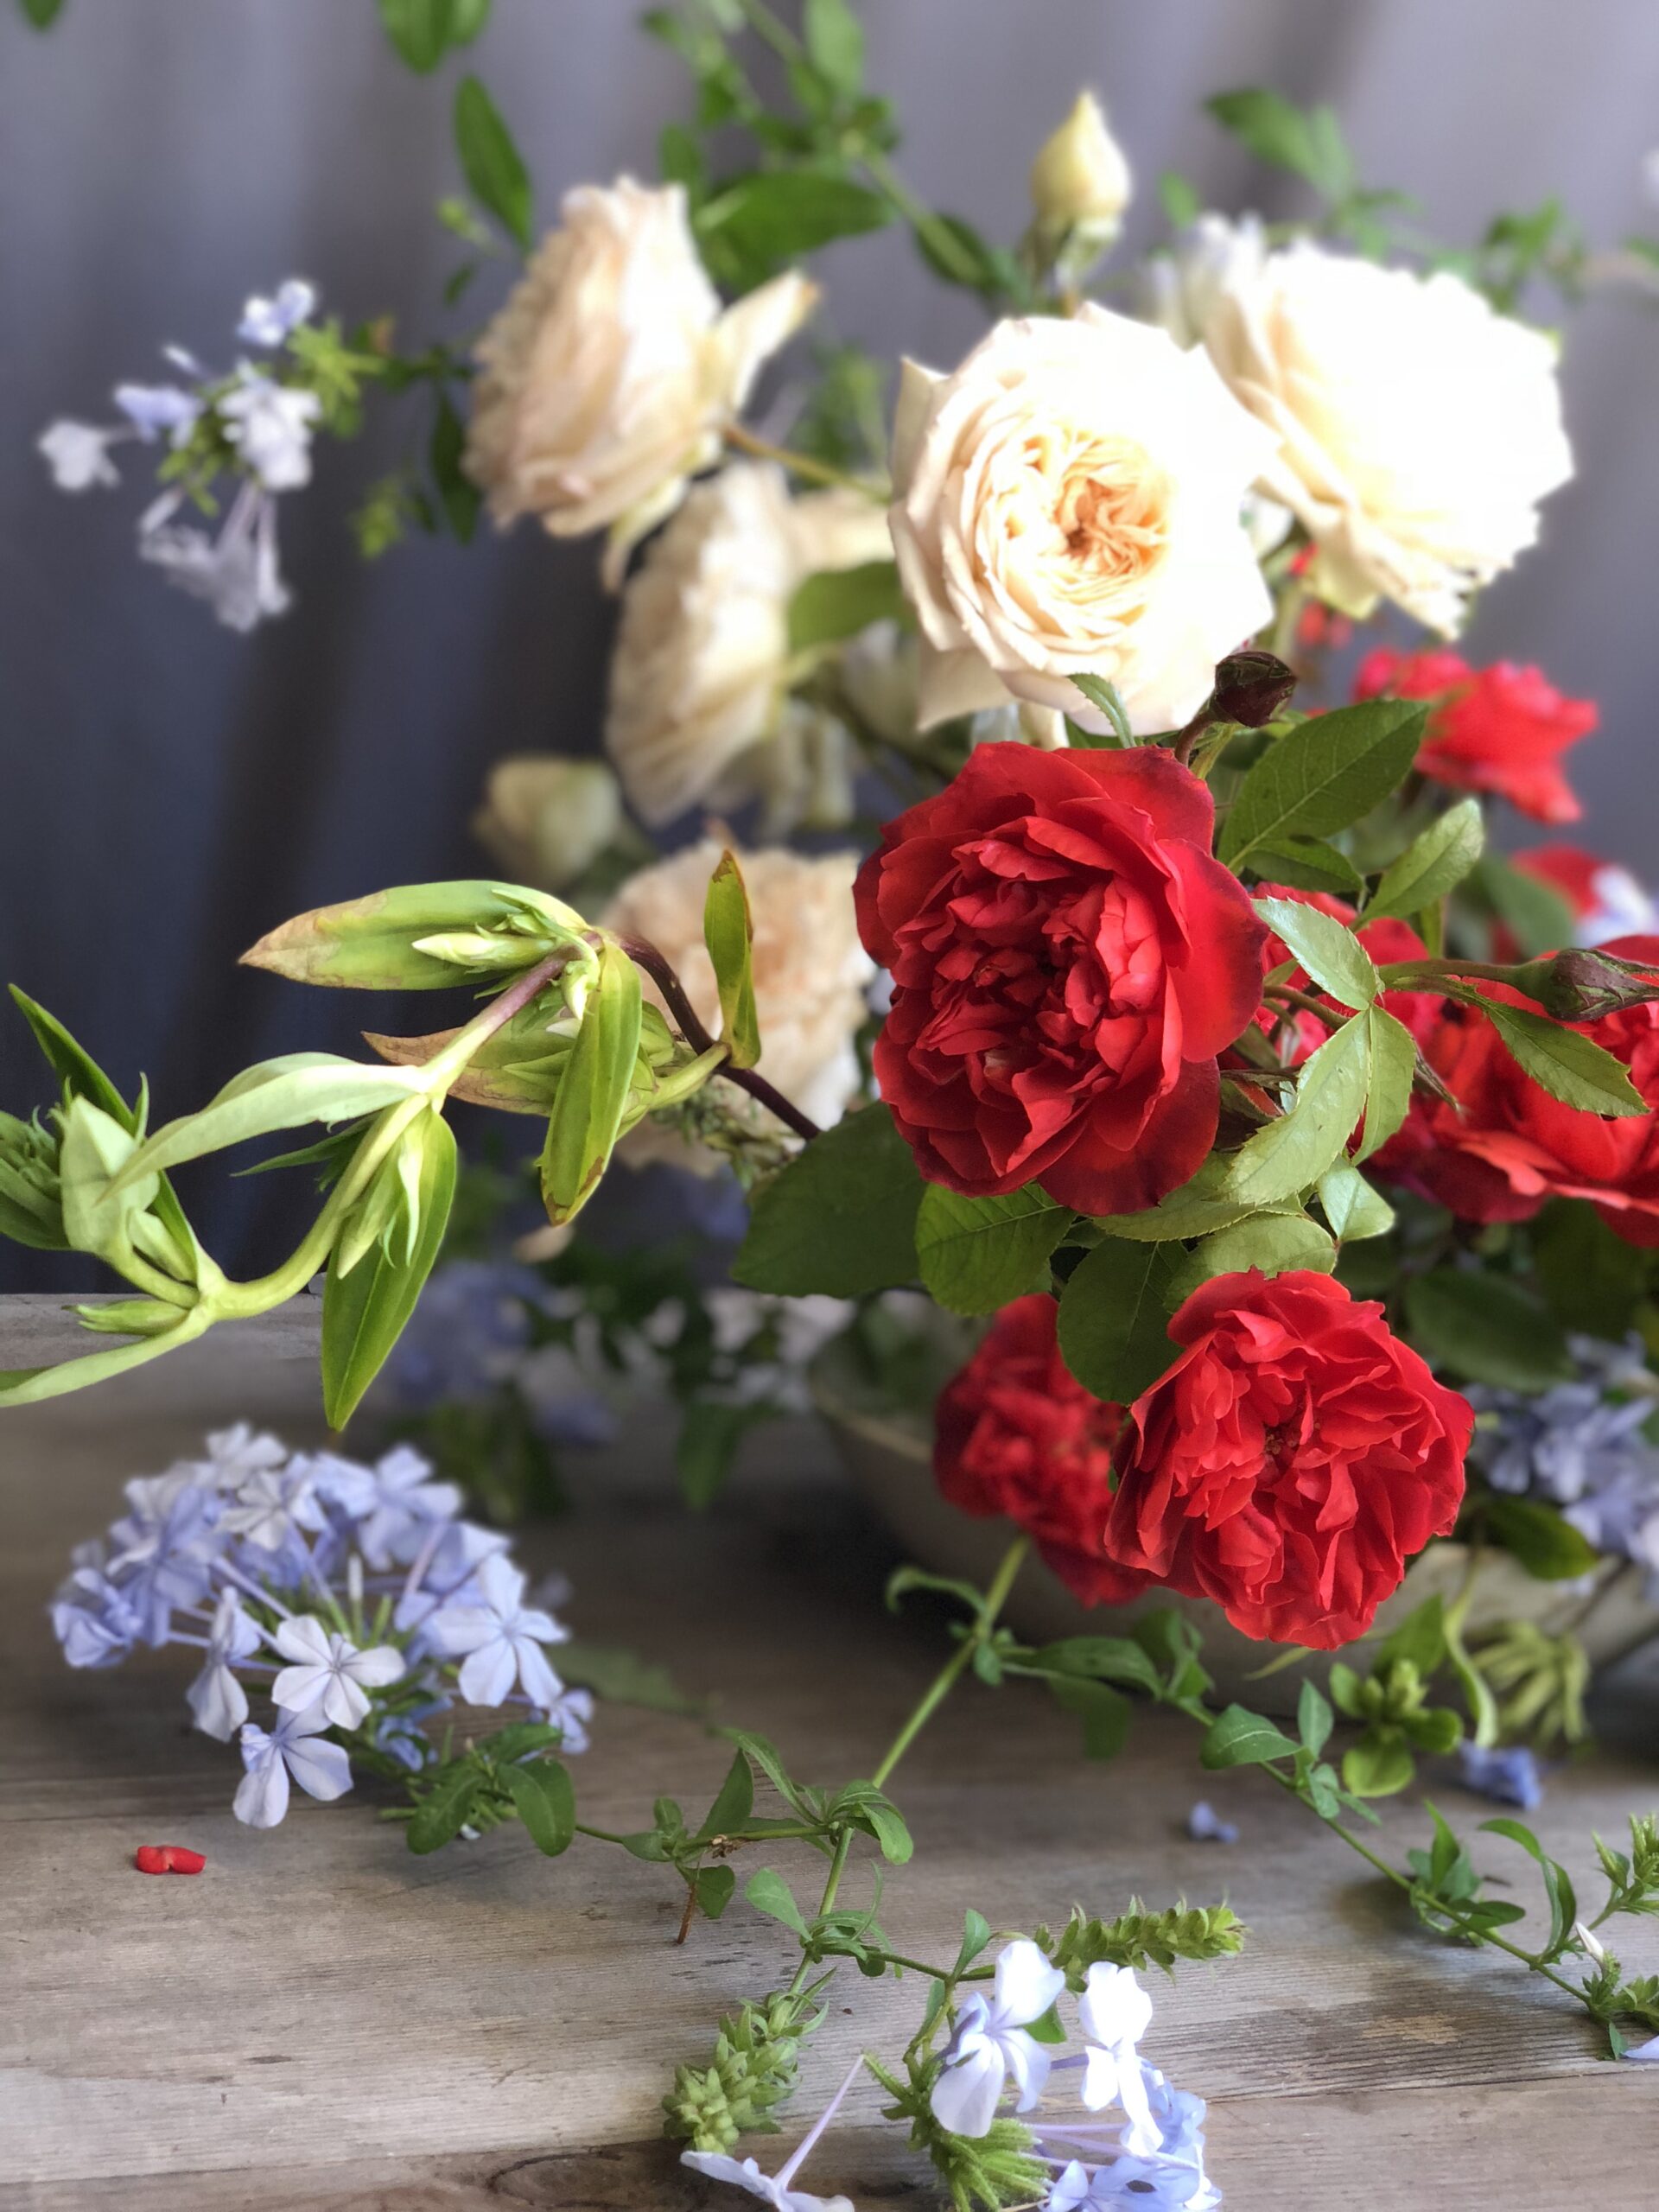
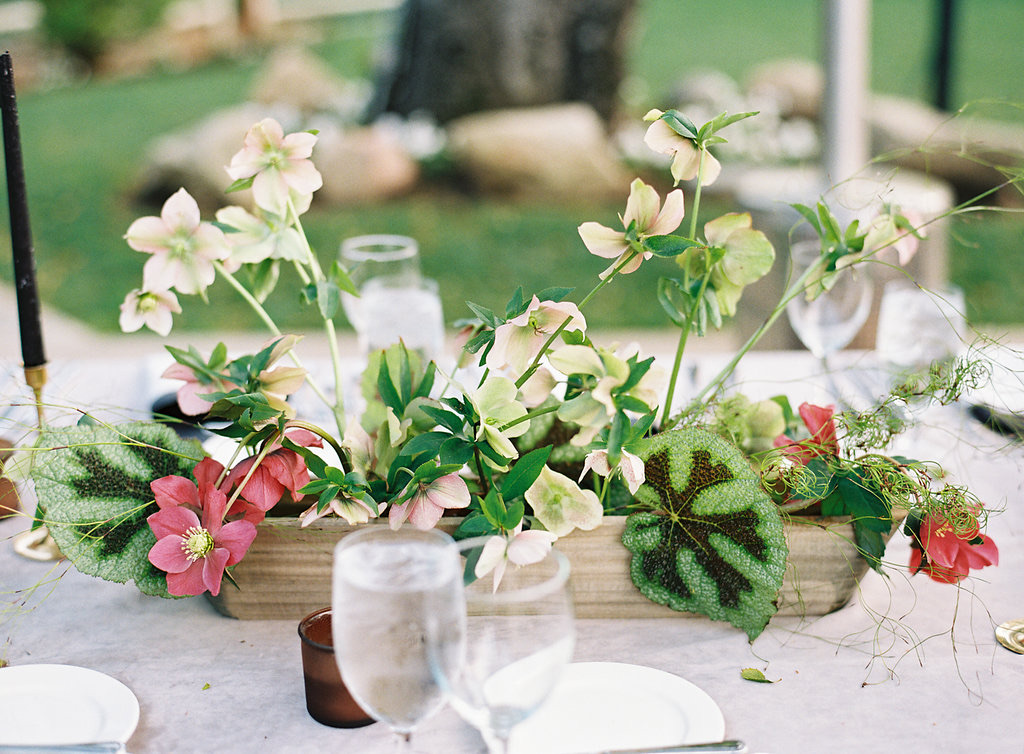
You might want a lighter, more airy feel for spring, so you may choose bright whites, vibrant lime greens to imbue the sense of newness in the garden, or intense violet blues or pinks to represent new spring blooms. Or maybe you want to create a sultry, dramatic piece, so you reach for rich red and plum shades with deep-colored foliage like a speckled begonia leaf to carry the theme throughout. Perhaps you want to make an autumnal piece, so you take inspiration from fall leaves, using shades like dark, brick red and deep, rich yellow for a sophisticated take.
Still struggling with palette inspiration? Use nature, fashion, home decor, or even the color wheel as source material! If you need more help here, Bouquet Bootcamp® is a great place to start learning how to develop a color palette. (Heads up! A more in-depth online color theory course is coming soon! Join the waitlist here)
Color is a critical element in the success of an arrangement, so choosing well and being intentional is a key to great arranging.
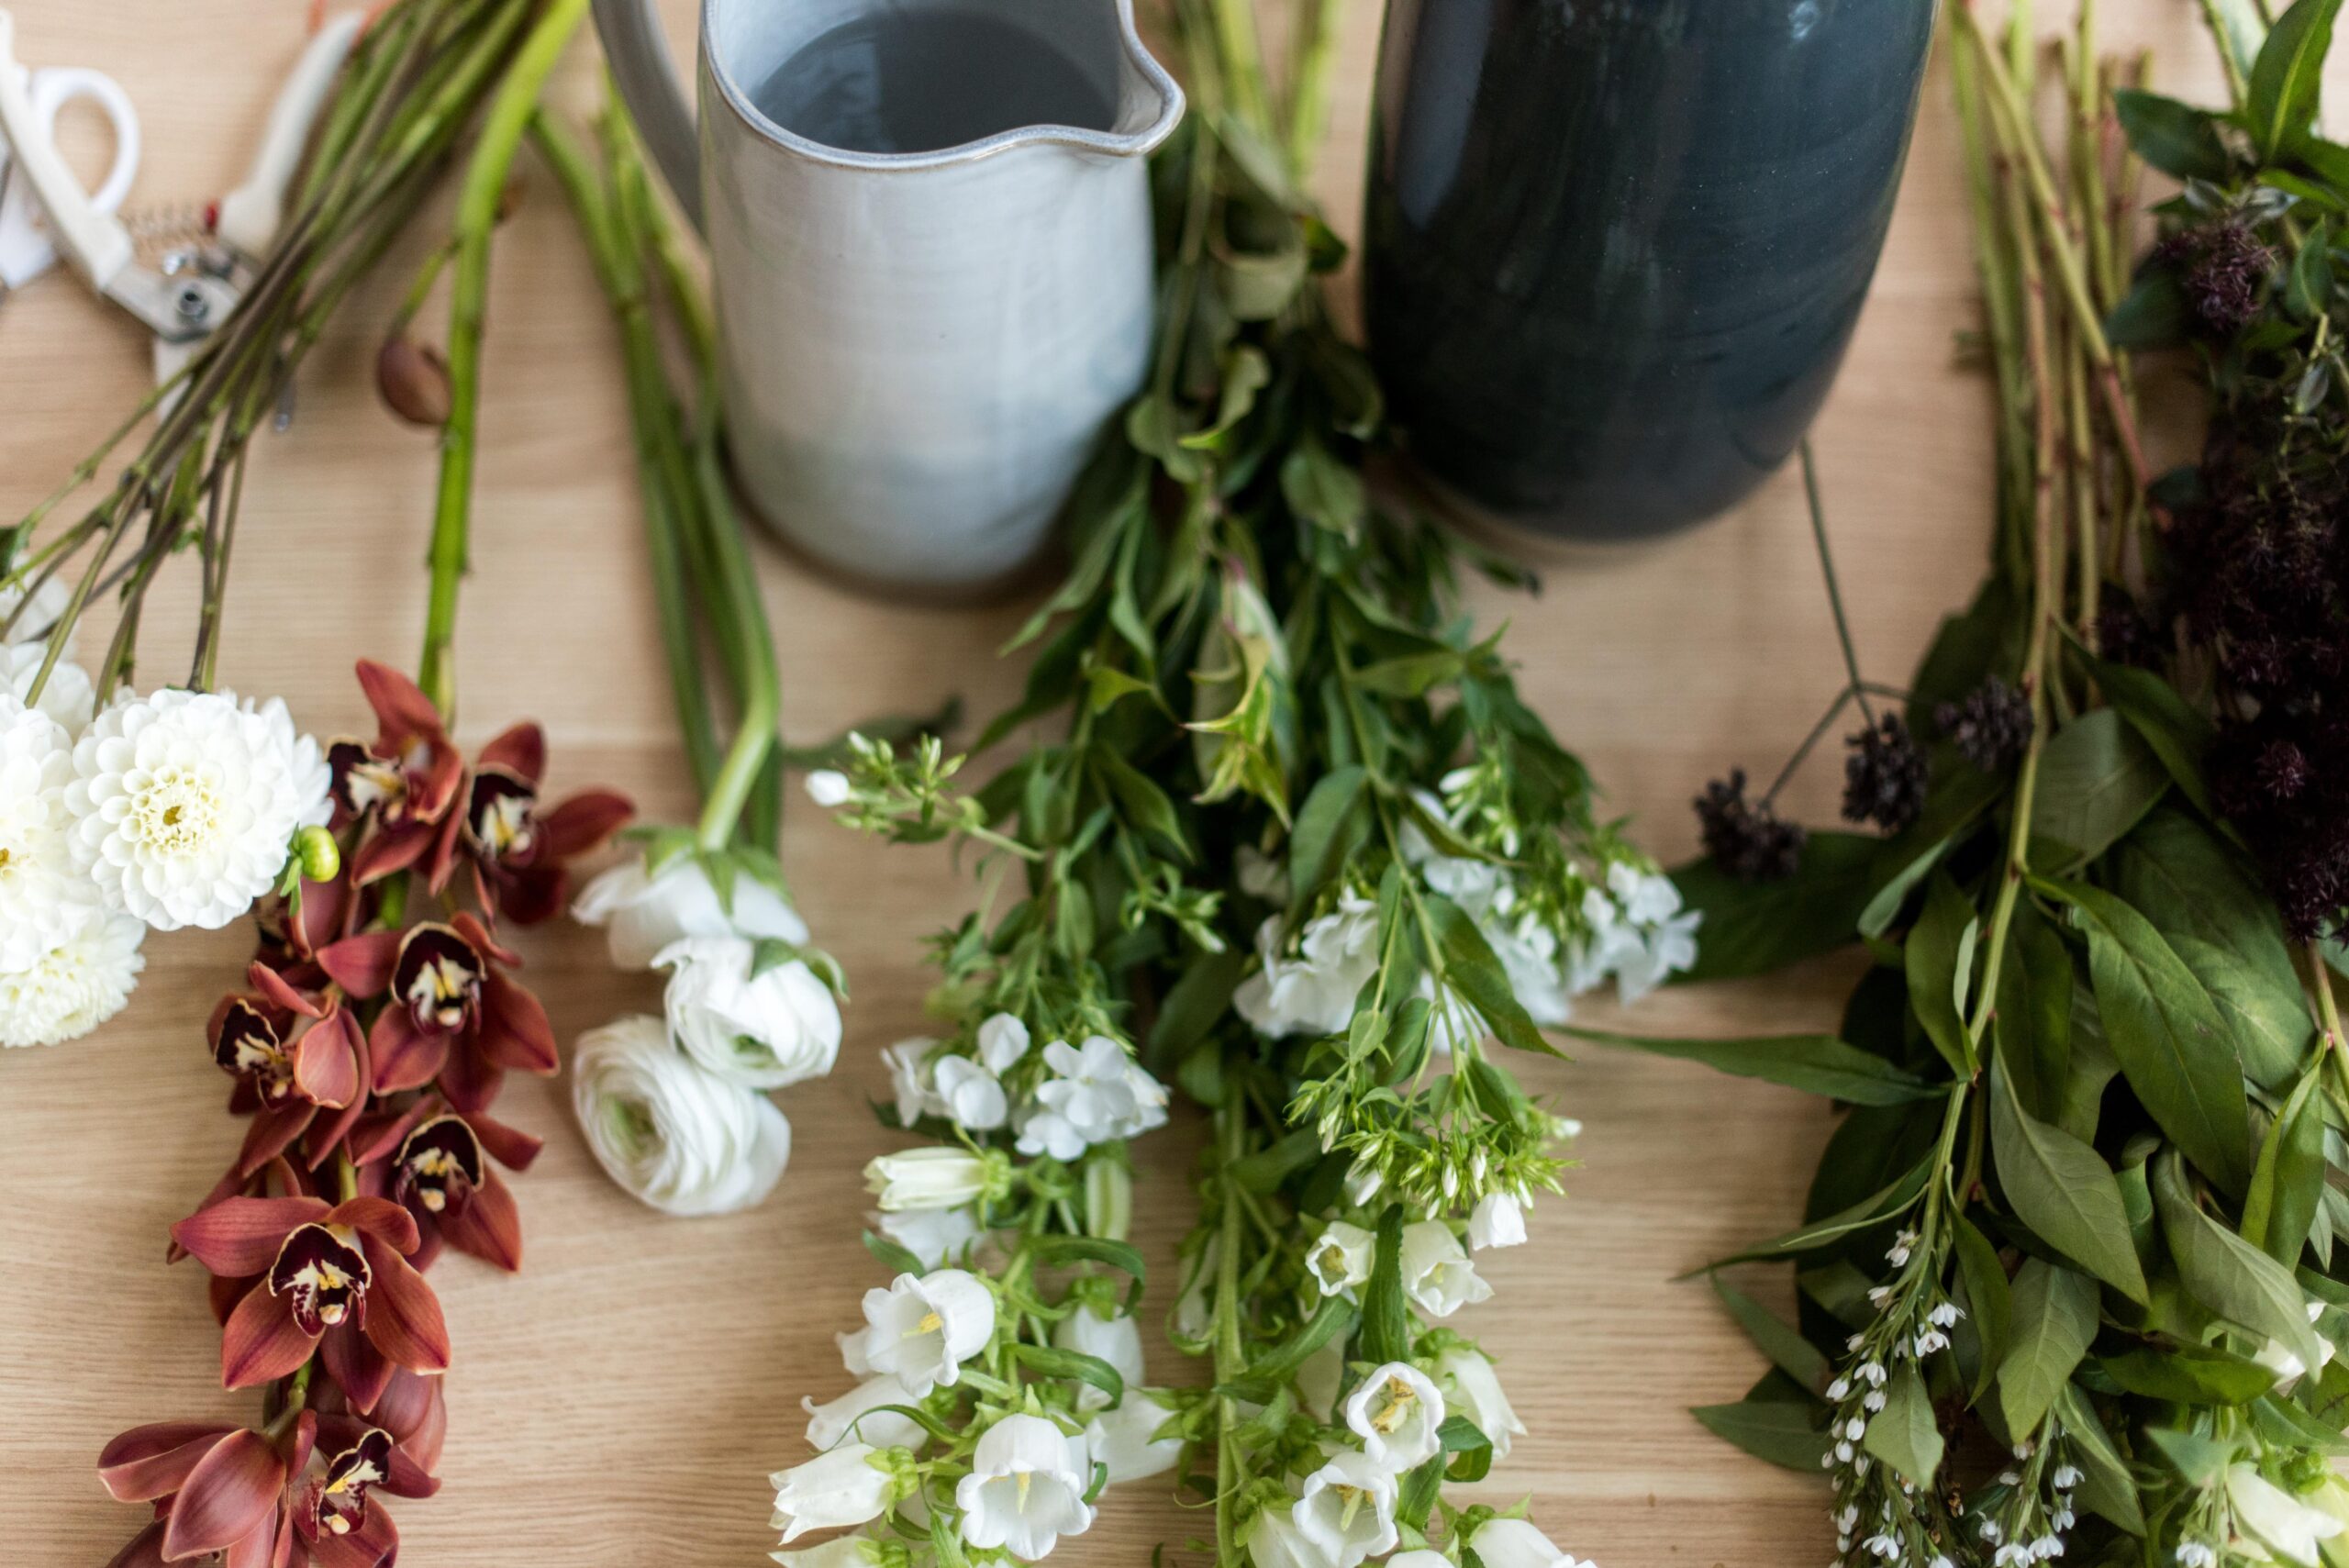
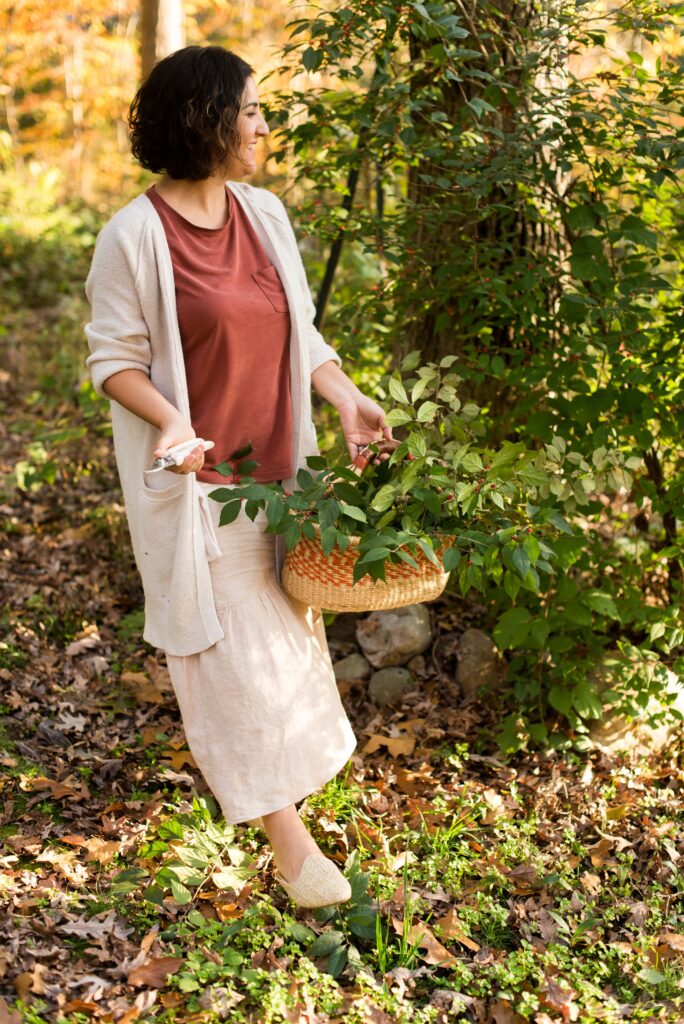
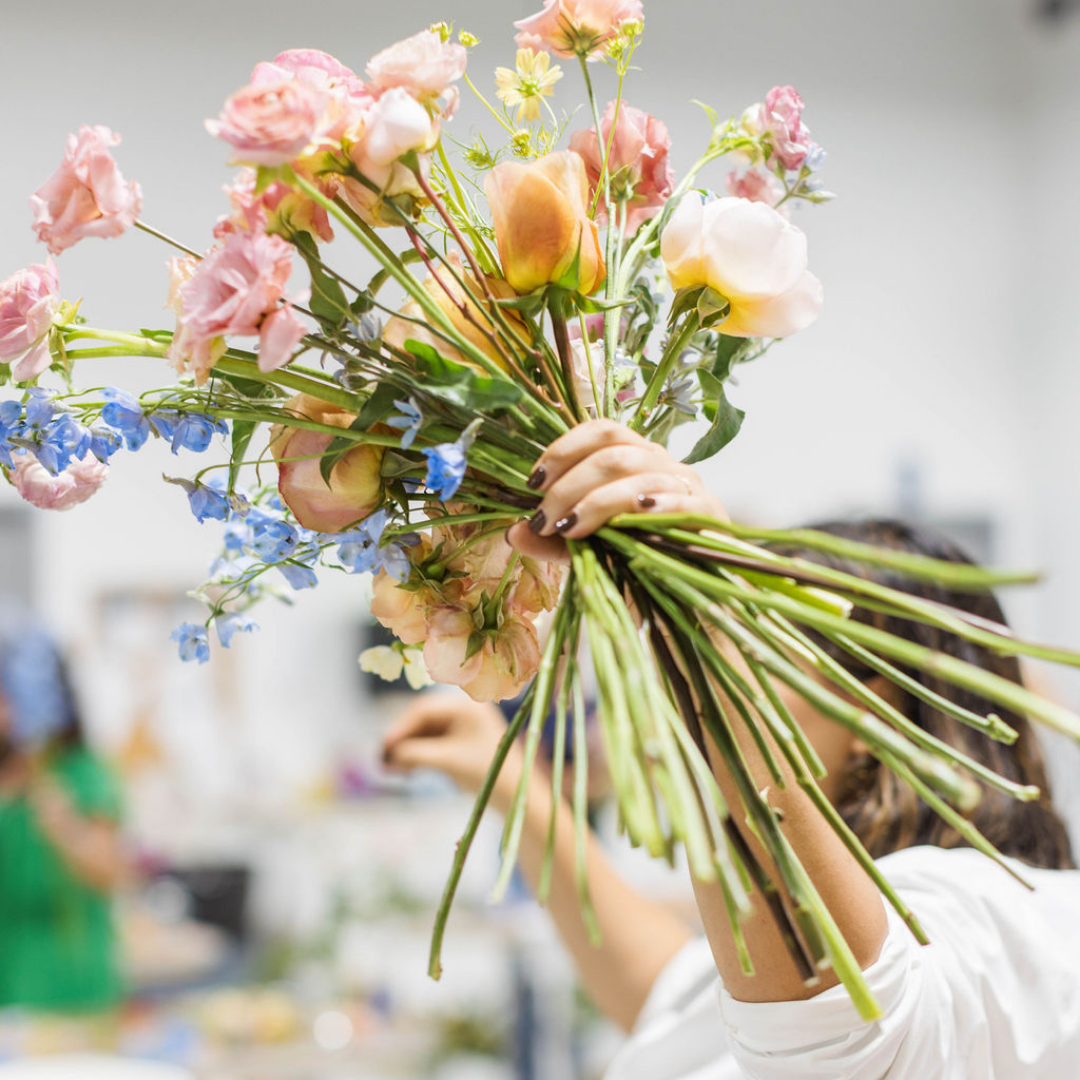
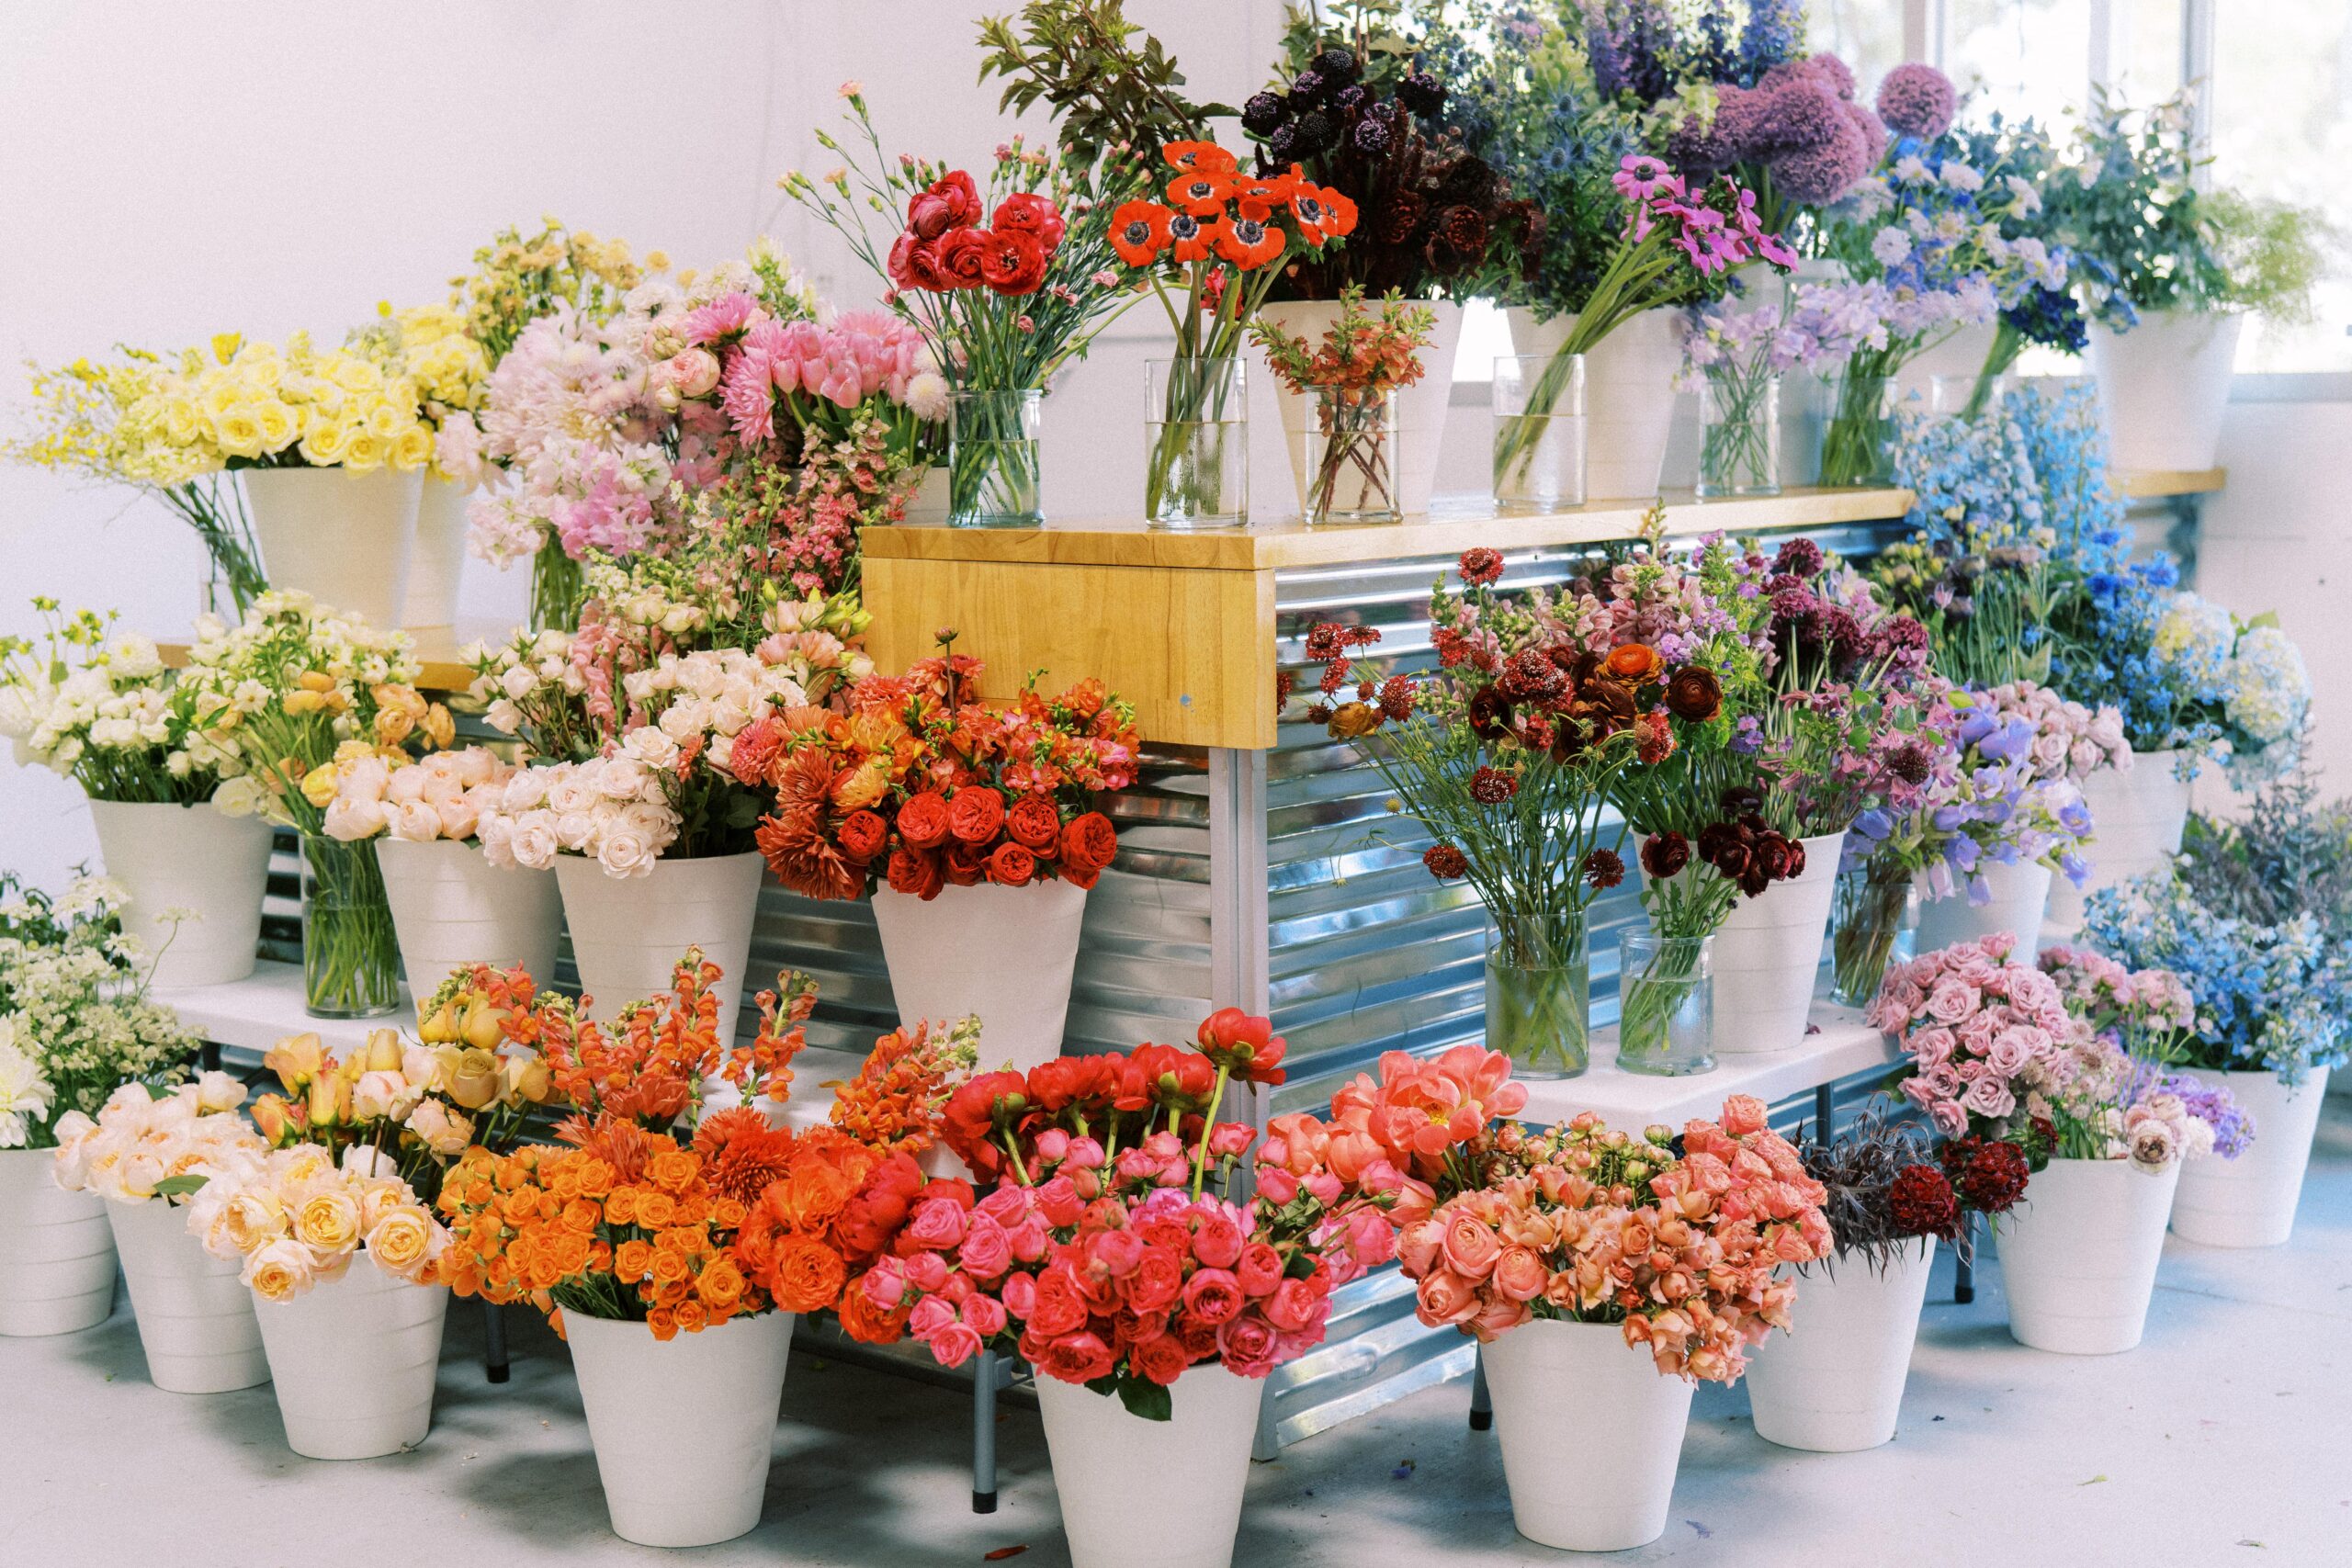
3. Select Your Blooms
Whether you are heading to the yard, the wholesaler, the farm, or the internet to buy flowers, recall the vision and palette of your design that you developed using Steps 1 and 2!
I often say that bloom selection is the step where the success of the design is secured. Once you have selected the right blooms, designing comes much more easily.
Ingredient selection will vary A LOT depending on the design, but here are some considerations.
- Attention Grabbing Focal(s) Choosing large flowers for your focal can be an easy win, and can help create a sense of drama and impact to a design. This can be the showpiece, the flower that immediately catches your eye when you see it, and possibly the stems you will spend the most money on. Peonies, garden roses, dahlias, and amaryllis are some favorites. If using large focal blooms, it’s easier to plan the rest of your design elements around them.
- Line Flowers Line flowers will help you create height and draw visual lines in your arrangements. Choose softer, curved line flowers for more delicate, whimsical designs, and straight lines for modern looks.
- Supporting Blooms (a.k.a fillers) Flowers of different sizes and shapes will help you build out your palette, add interest, and highlight the focal point of your design. For instance, if you have a very large bloom on one side of your design, clustering several smaller flowers on the other side will balance the arrangement.
Texture and Foliage Don’t be afraid to mix and match different textures into your floral arrangements. In fact, this may just be one of the most underrated basics of flower arranging, as the greenery in an arrangement can be just as important as the flowers! Incorporating numerous textures makes each individual element stand out more and makes an arrangement even more visually exciting. I love utilizing various types of foliage to bring unique contrast to an arrangement.
4. Prepare Your Blooms
Before I design, I process, clean, and edit my blooms to showcase them at their most beautiful, healthy, and long-lasting stage. Additionally, processing my blooms can help me design more efficiently, as I will clean off pesky, unusable laterals and excess foliage that would otherwise clutter my vase or slow me down while making a hand-tied bouquet or vase arrangement. Not sure how to process your flowers? Don’t worry! I’ve got some great tips in this blog post!
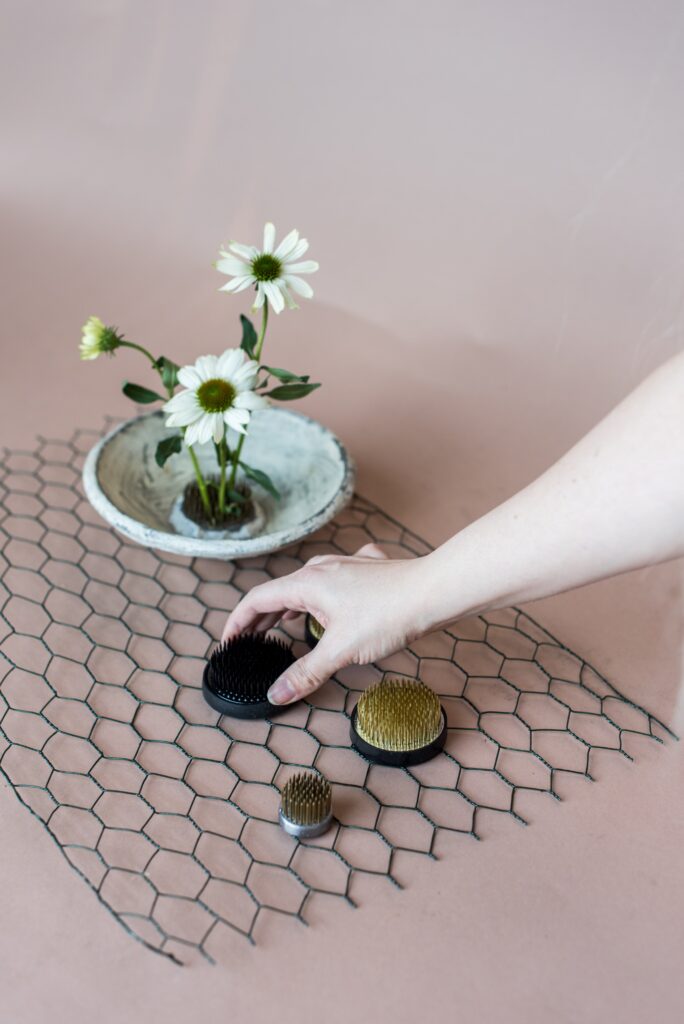
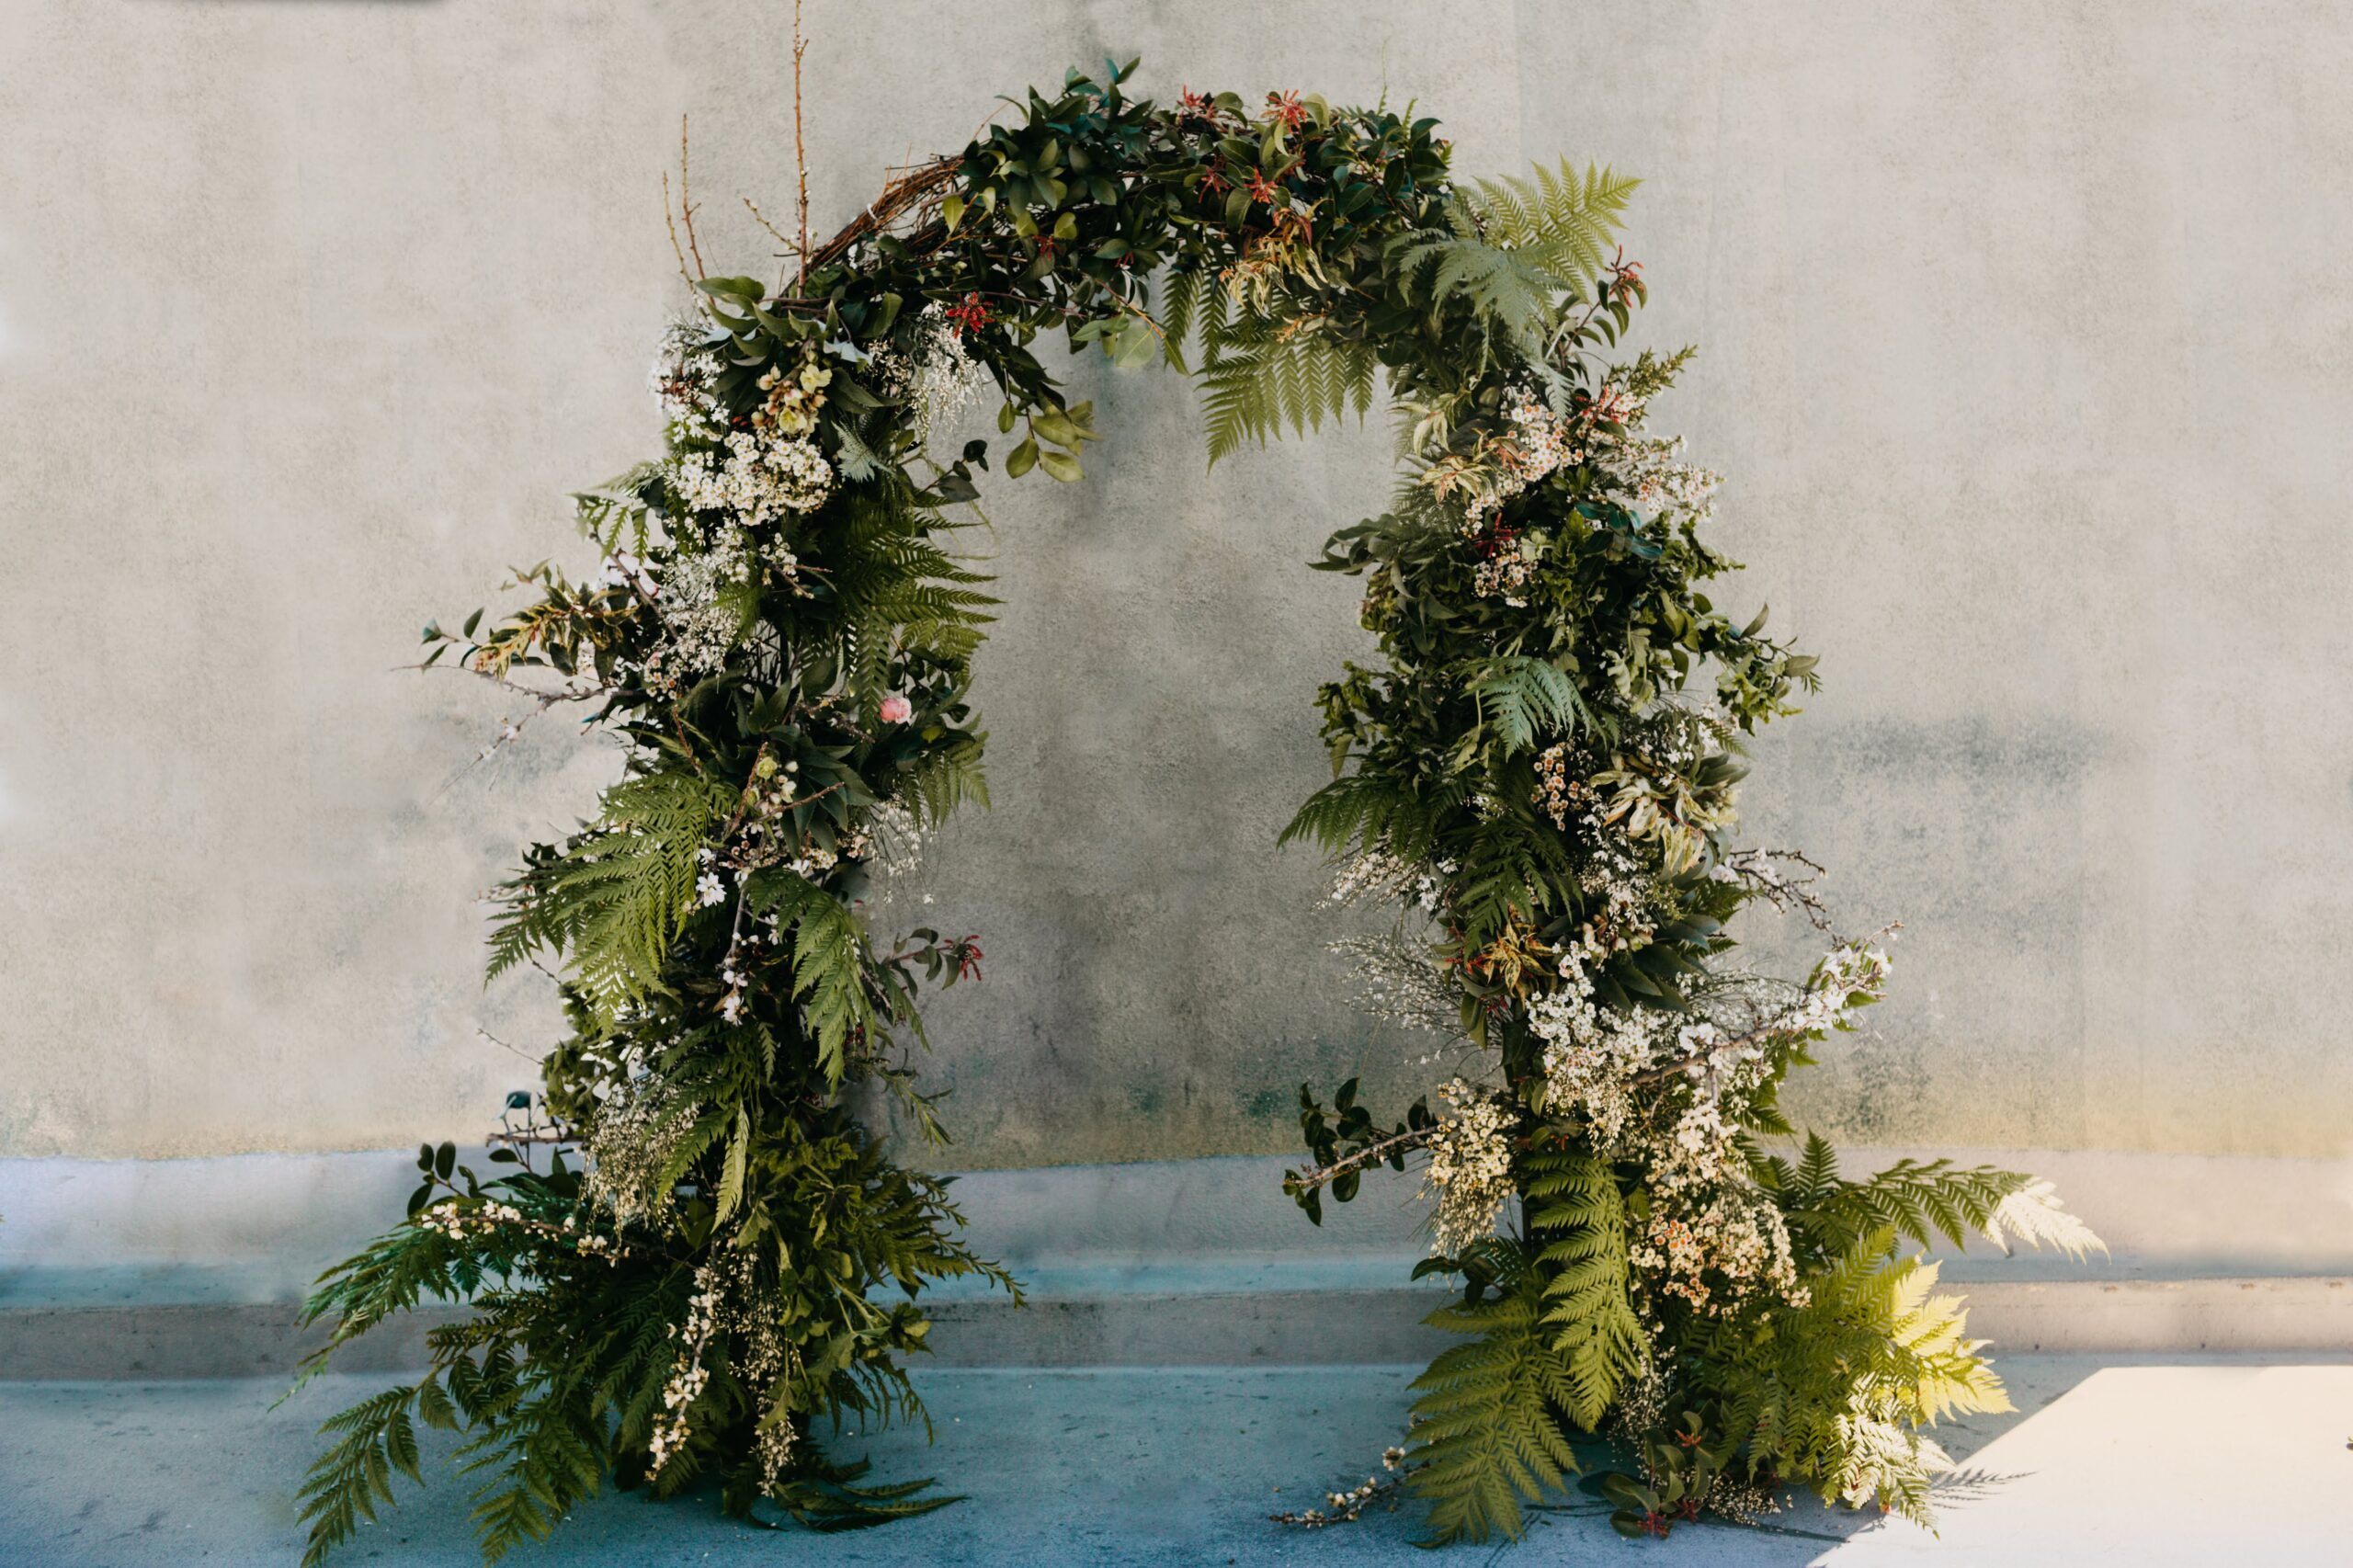
5. Prepare Your Container, Mechanics, and Tools
From my days as a full-time wedding designer to working with the incomparable Accent Decor, to collecting antique and thrifted vessels, I’ve developed quite the cache of containers! Whether you’re designing in a ceramic, minimalist compote, heirloom milk glass, a mason jar, or designing a handheld bouquet, you’re going to want to take some time to prepare mechanics and grab your design tools.
Mechanics are essential for creating a design that has good stability (and won’t fall to bits in transport or flop over in a vase), and can help you create the shape that you are looking for. There are a lot of approaches to mechanics, and it takes practice and experimentation to figure out which you like best. I often lean on a chicken wire for vase arrangements, the spiral hand tied for bouquets, and rubber bands for binding, but you can explore other methods here.
As far as tools are concerned, I have my favorites, which you can explore in this blog post. But at the end of the day, a pair of kitchen shears or landscaping pruners will serve a hobbyist in a pinch.
Don’t forget to fill your container to the brim with fresh water before you get to designing, and make sure your container is watertight. Not sure how to know if it’s watertight? Fill it with water before using it, and leave it on a dry surface on a paper towel. Let it sit overnight, and voila! If there’s water on your paper towel, table, or counter when you go to look… bad news, it’s not watertight! But no worries! You can either outfit with a liner or refer to this video for a demonstration on waterproofing.
6. Bonus Step! Time to Design
Goodness, this step could be a whole blog post… or maybe an entire online course (😉)… in itself. But, if you’ve followed the above, a good deal of the work has been completed. Simply circle back to step one, and remind yourself of your well-considered and conceptualized vision. Now that you have the right palette, intentionally selected and processed flowers, and good mechanics, you will find it’s much easier to bring your design to life! Still looking for a little assistance? I got you! I demonstrate a vase arrangement in this video.
Want to learn more about design, from quick tips to in-depth education? Check out my Bouquet Bootcamp® Online Program or follow along @bouquetbootcamp and @thefloralcoach!
Previous Post:
Next Post:
Leave a Reply
I think you'll also love reading...

All good Information reminders.
Thank you!!! Thanks for following along!
I really enjoyed this blog post! Thanks for sharing many good ideas. Do you have control of the darkness of the type? It was distractingly difficult to read simply because the print was too light. Could that be addressed from its source, please?
Hey there, thanks for your feedback. We have sent your comment to our website manager, and they’re going to look into it and address it! Appreciate you following along on the blog! -Amy