


Speed Up Your Rose Processing with These Pro Tips

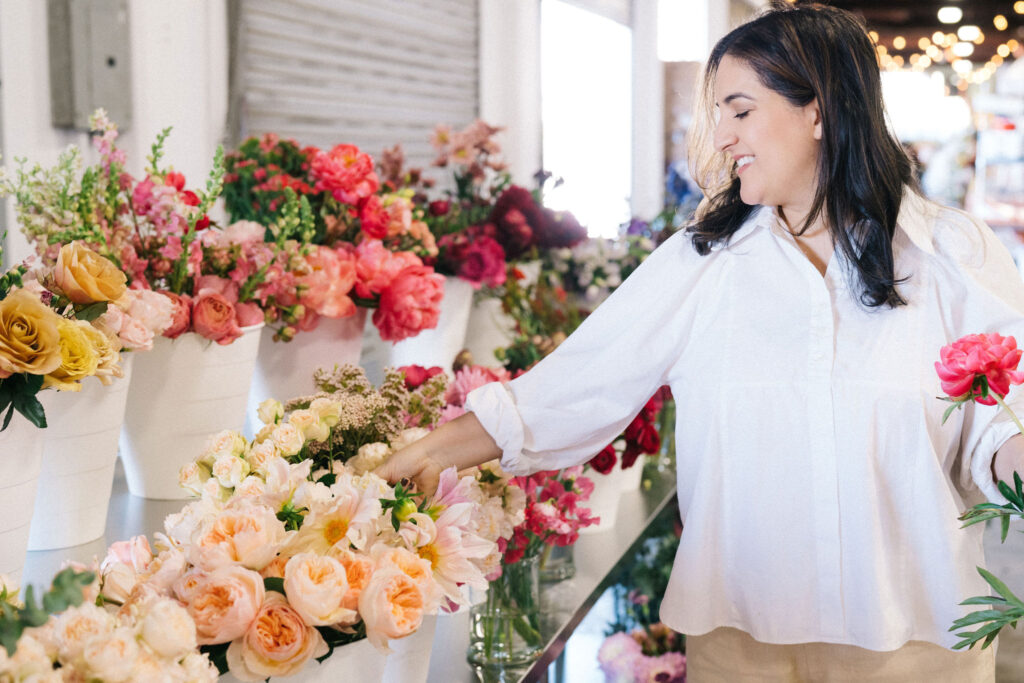
If there’s one thing I cherish in the bustling world of floral design, it’s finding those golden nuggets of efficiency that allow our focus to be on creating beauty!
Today, I’m sharing a swift and efficient way to prep your roses. This tip has been a game-changer for me on every event and holiday, including the MANY Valentine’s Days I have spent in the trenches!
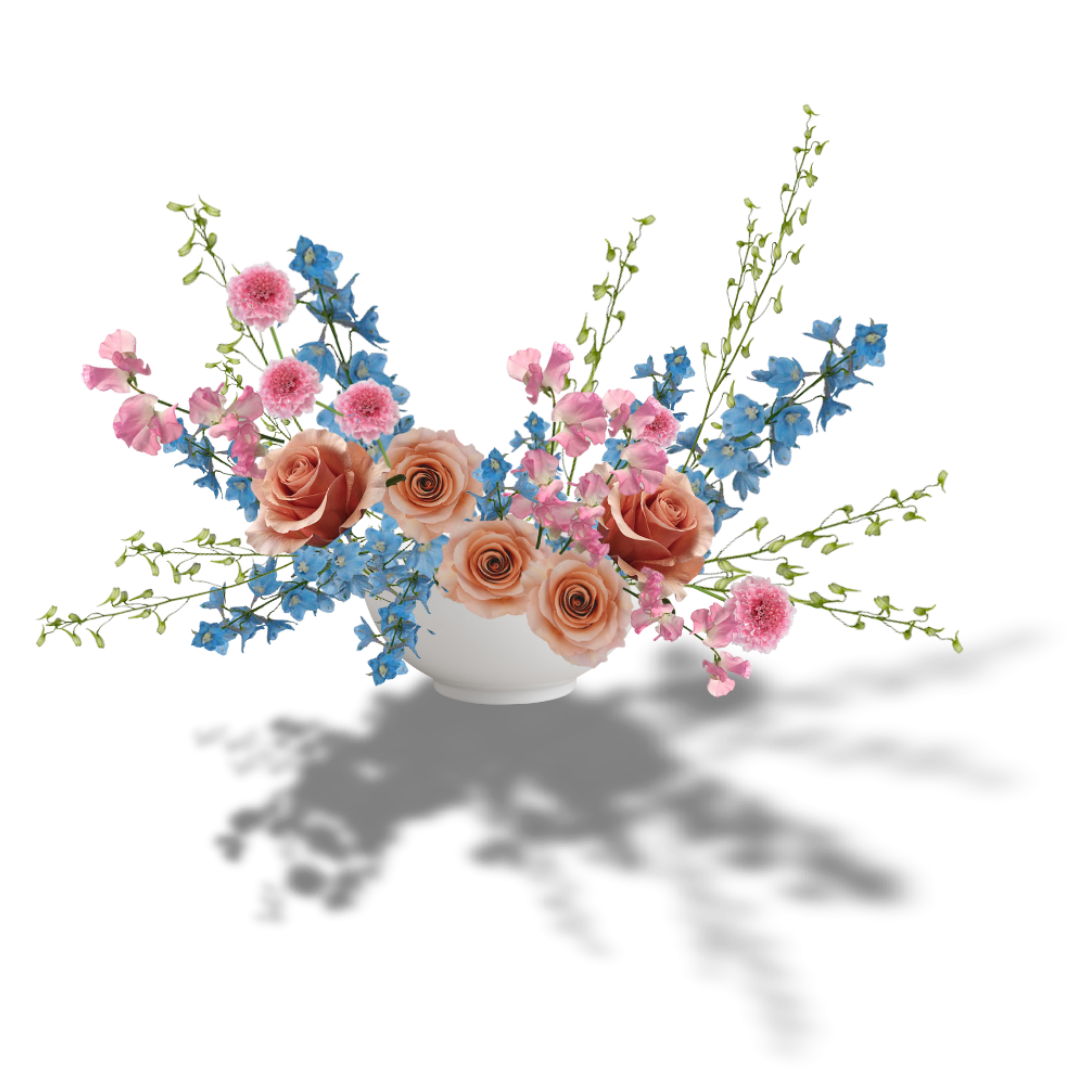
This processing tip works well for all types of flowers but in particular, it works great for roses, the star of most Valentine’s Day orders.
When roses arrive, they’re typically wrapped in cardboard for protection and loaded with thorns and leaves (depending on the variety).
Our job? To hydrate them well and prepare for designing without causing harm to the flower or stem.
Here are some simple tips and guidelines to follow:
- Leave the flowers in the cardboard and do your best to remove as many leaves as you can without taking off the cardboard.
- Cut ½ an inch to an inch off the bottom of the stems and place in plain water or water with a hydrating solution (still wrapped)
- Keep the roses in a cold place – a cooler preferably. This will ensure the roses get water to the head and that the roses stay straight before removing the wrapper and fully processing the stems.
Your Flower Stem-Prep Tools
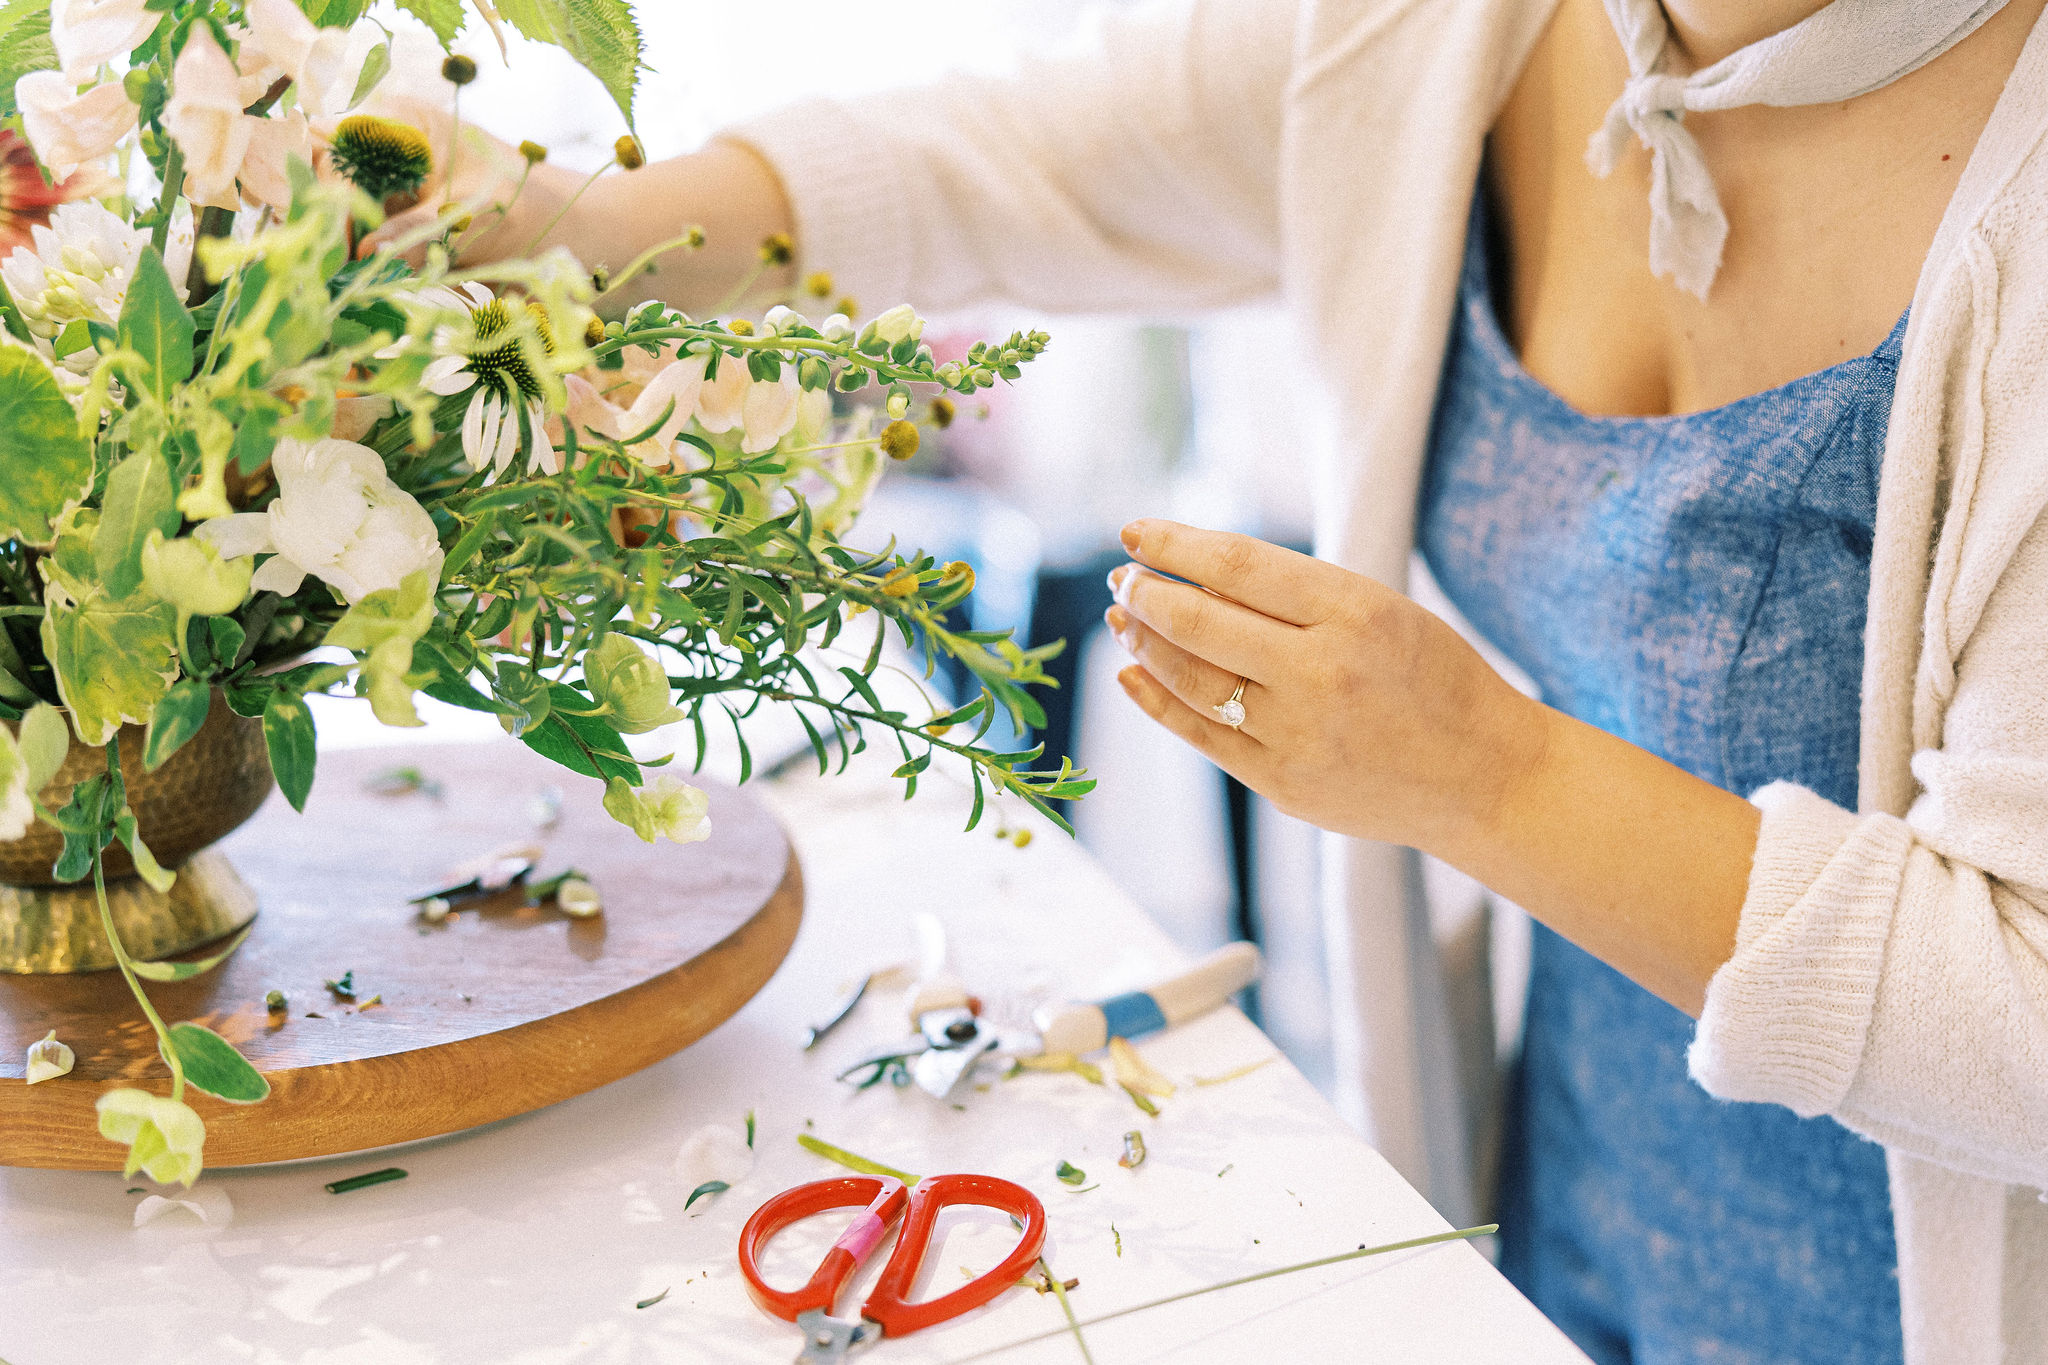
Once the roses have hydrated (a minimum of one hour… up to 24 hours) they are ready to be processed! Remove the cardboard and clean your tools to remove any excess bacteria buildup to begin!
As florists, the right tool can make all the difference. When it comes to roses, I swear by a handy, ergonomic soft plastic rose stripper for processing roses. Metal rose strippers can damage the outer skin of a rose allowing excess bacteria to enter the stem so this little wonder works magic in gently removing foliage and thorns, ensuring rose stems stay pristine and healthy. It’s a must-have for both seasoned pros and budding floral enthusiasts!
When processing roses, I also prefer to wear gloves. This protects my hands from thorns and chemicals roses are often sprayed with. In general, make sure to wash your hands often when handling roses.
My Stem-Stripping Technique for Roses
When processing woody stems like roses, they are sturdy and can be handled with more vigor than other fleshy or delicate stems.
- Remove any remaining packaging and place the entire bunch of flowers with the heads in front of you, close to your body at the edge of your table.
- If you are right-handed, the heads of the flower heads will always lay towards your left hand.
- Pick up the first flower at the top with your left hand and lift it barely above the bunch, parallel to the table. Keep your arms very low, shoulders down, and place the stripper at the base of the flower head with your right hand. (Reverse if you are left-handed.)
- Grasp the flower stem tightly and with a quick and firm motion, pull the rose stripper down towards the bottom of the stem.
The key to this technique lies in the continuous motion and avoiding the traditional approach of inspecting each flower individually. By consistently stripping the roses in a seamless motion, you can process a large quantity in a fraction of the time it would take if you were lifting each flower off the table and removing the leaves one at a time.
If there are any remaining thorns, a floral knife can make quick work of removing them. Simply hold the knife parallel to the stem and slide the knife along the stem to remove any additional thorns. 🔪
Working in batches allows you to be the most efficient so strip one entire bunch of 25 roses at a time. Try picking up 10-15 stems at a time, tap them on the table to make sure all the bottoms are lined up, then cut ½ inch to one inch of the bottom of the stem before placing in water. If using the hydration solution Quick Dip, place the cut ends briefly in the solution before placing in water.
I have been able to get through a huge volume of roses in no time using this process!

Remember that roses are thirsty drinkers so they like to be in deep water in the bucket. Just ensure no foliage ever falls below the water line as this harbors bacteria and will expedite the death of your blooms.😬
I hope this floral tip serves you well, especially in busy seasons like Valentine’s Day! ❣️
Watch the whole video HERE and keep your eye out for more helpful tips and inspiration hitting your inbox this year.
Also, if you are looking for more tips, grab my totally free Valentine’s Day Color and Palette Inspiration & Recipes right here!

Previous Post:
Next Post:
I think you'll also love reading...