

How to Press Flowers (Repurposing a Bouquet)
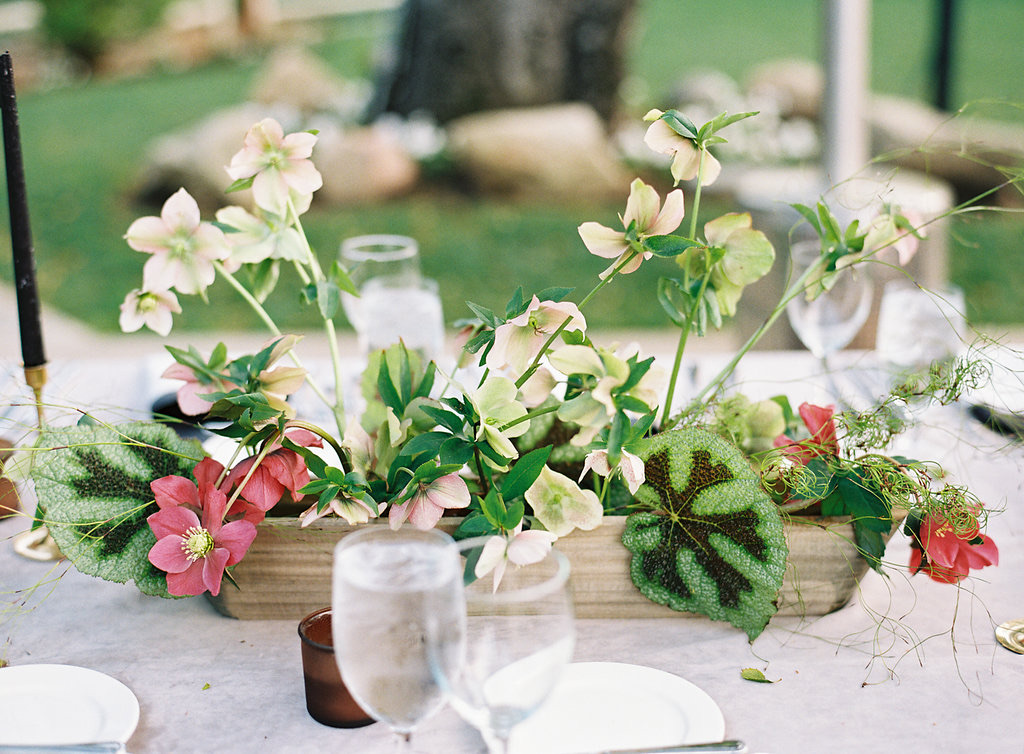
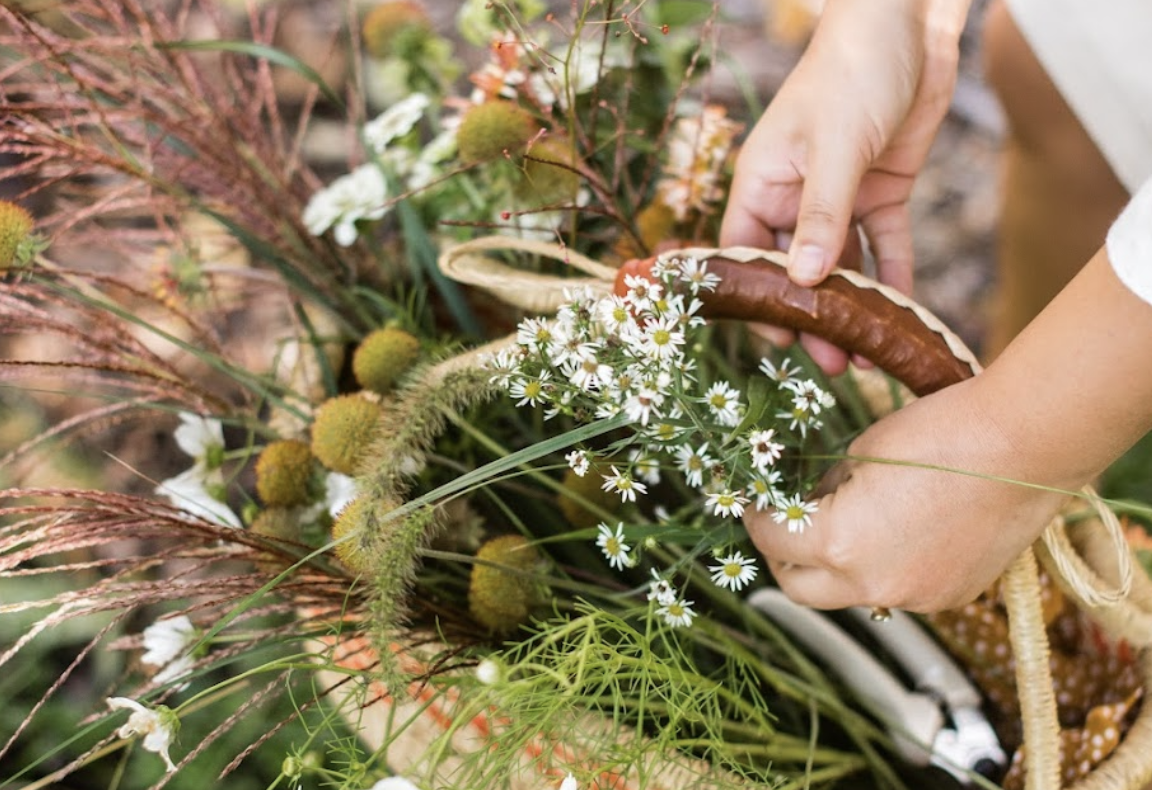
Have you ever wondered how to press flowers? Maybe you want to save a special flower arrangement or bouquet. What do you do? My recommendation is that the best way to repurpose your bouquet is by pressing the flowers.
Pressed flowers are the perfect way to remember a gorgeous (and probably sentimental) floral arrangement you received. Plus, it’s really not that hard to press flowers, and there are a few different methods you can try. In fact, I’ll tell you exactly how to do it in a few easy steps…
Check out this guide on how to press flowers!
How to prepare your flowers to press them
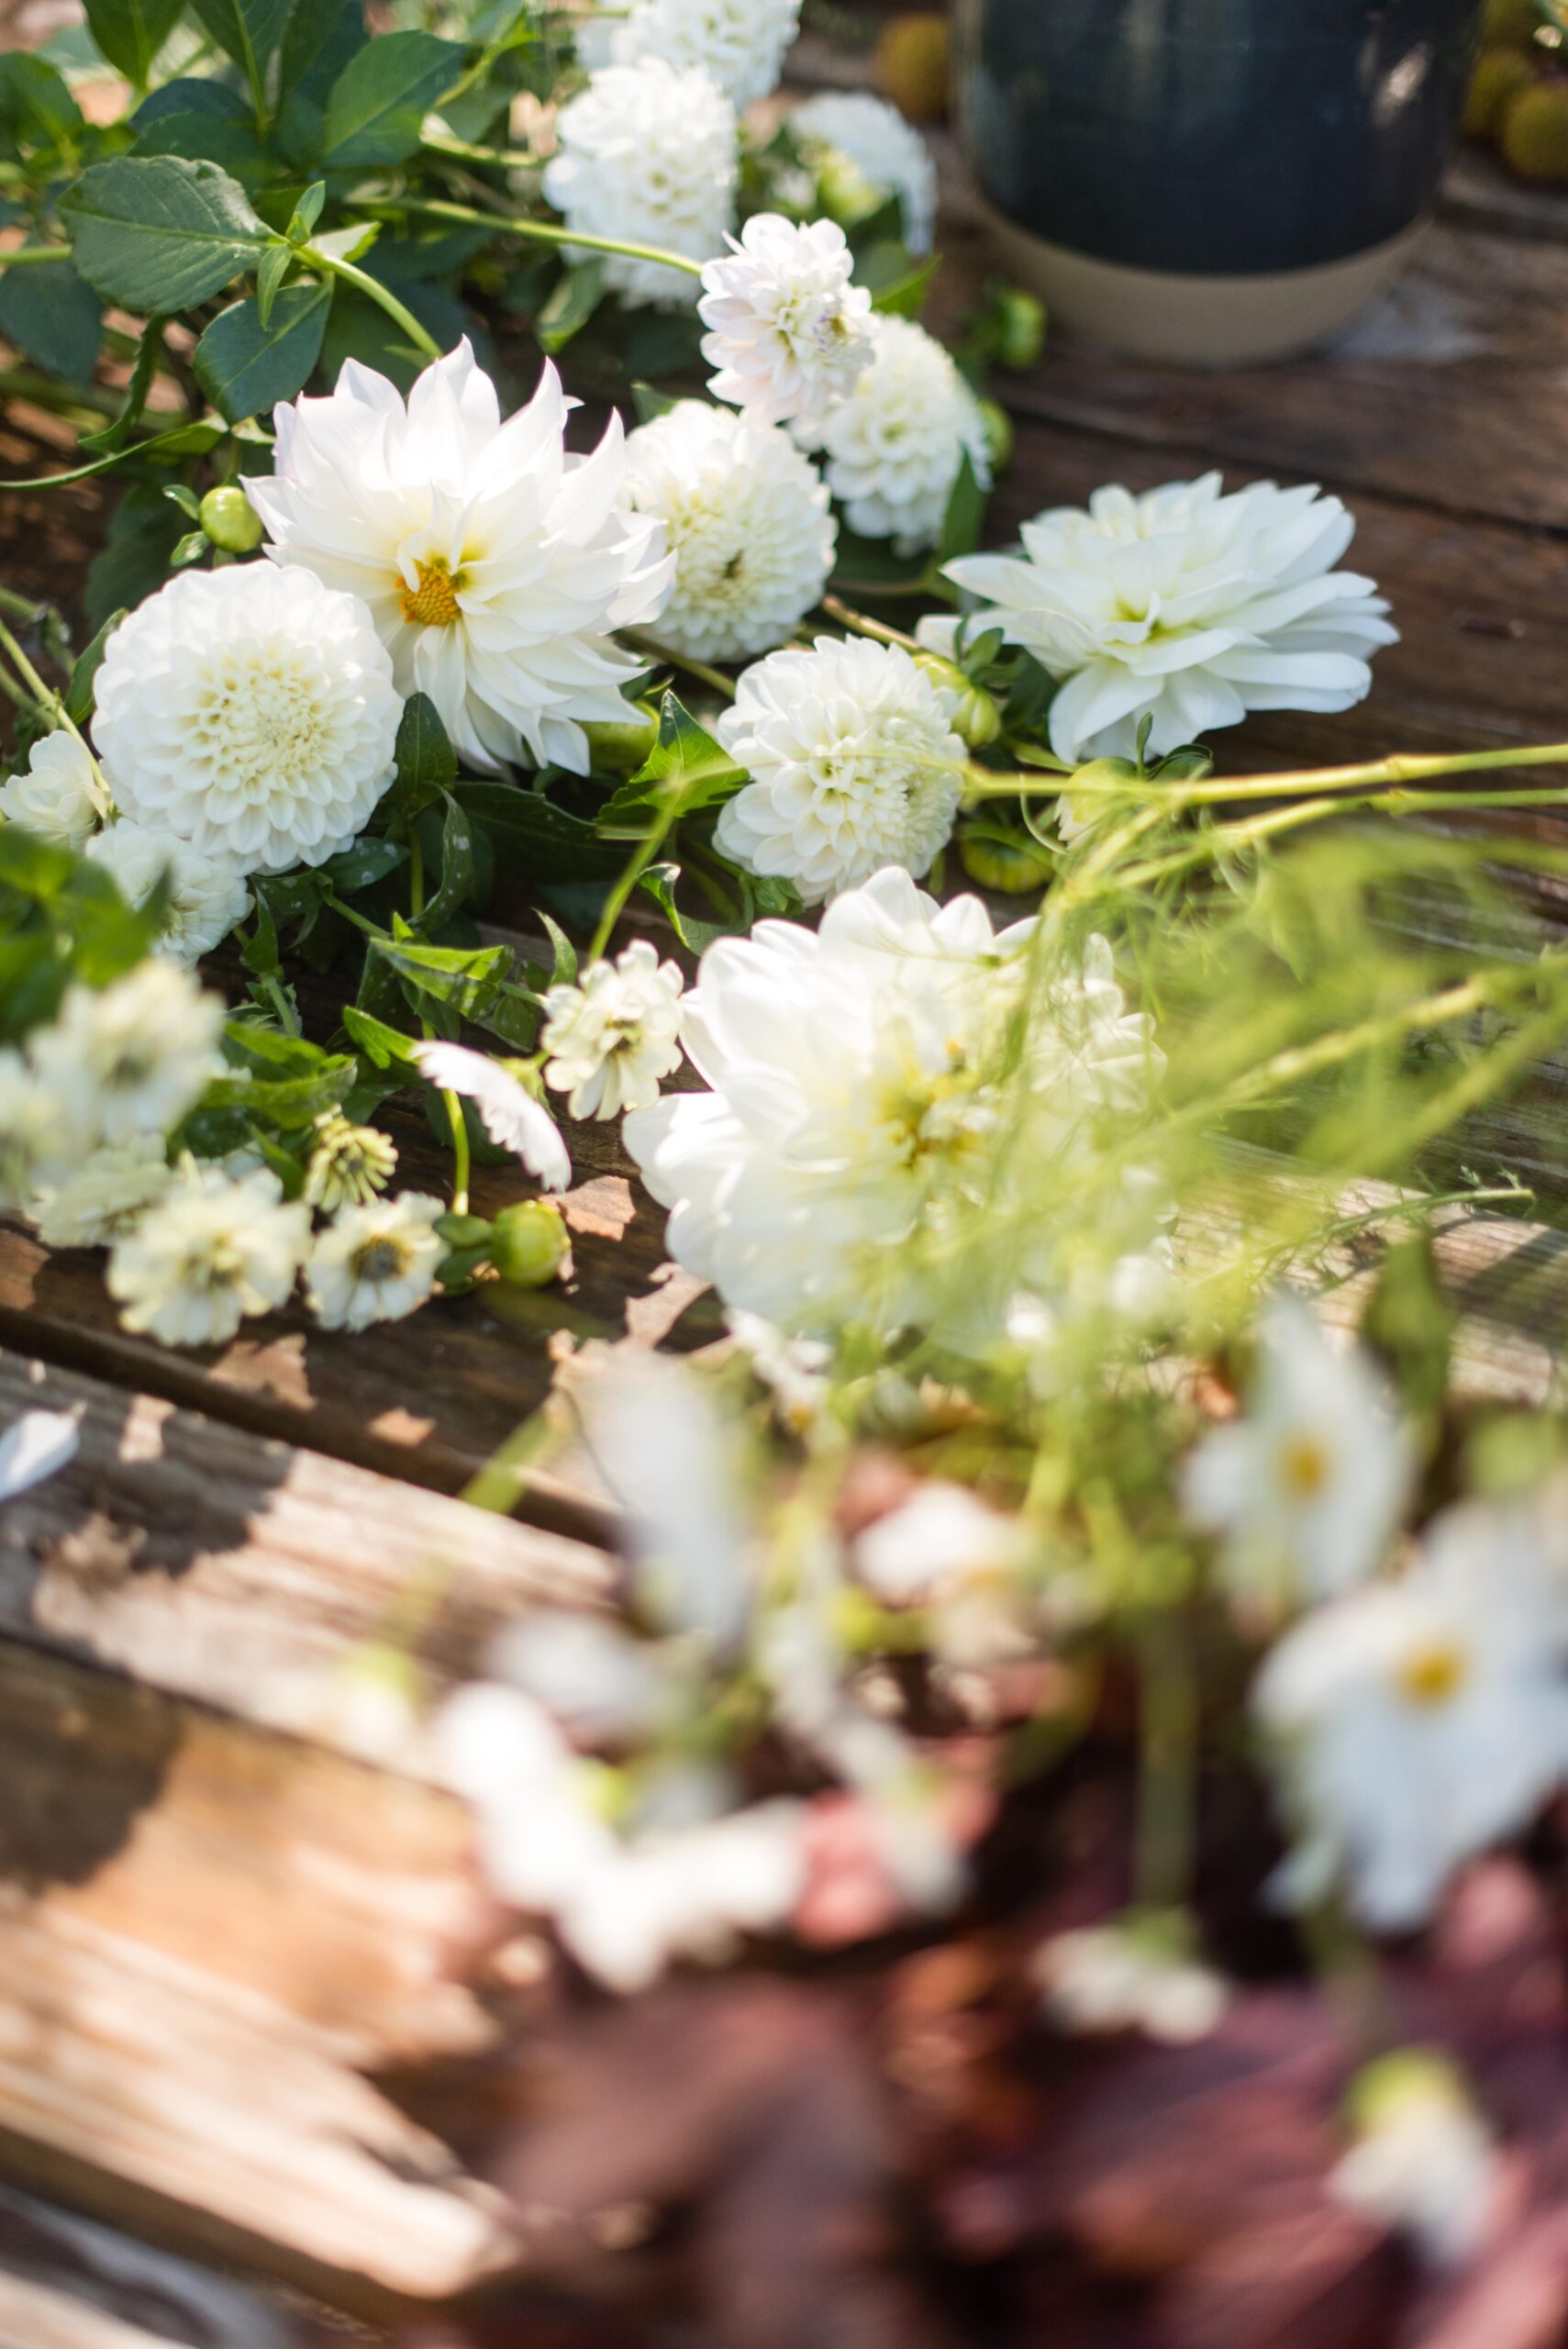
Before you can press your flowers, you need to ensure they’re the right flowers to use for this kind of project. Check to make sure the flowers don’t have any spots or blemishes. It’s best to press flowers that are fresh and newly bloomed. Florals from an old, wilty bouquet probably won’t work well. If you have some flowers you know you want to press but can’t get to them right away, put them in a ziplock bag and keep them in the fridge until you’re ready to use them.


Make sure your flowers are nice and dry (meaning free from condensation) before you press them! Wet flowers can get moldy in the pressing process. If you do notice that your flowers are a little damp, give them a little extra time to dry out before you press them.
Finally, keep in mind what kind(s) of flower buds you’re working with. Flat buds are the easiest to press, while fuller or globe-shaped buds can be difficult to press nicely. If you are working with thicker or more round blooms, split each flower down the middle so they press nicely. Flowers like orchids, peonies, and roses often need to be cut in half to get a good result.
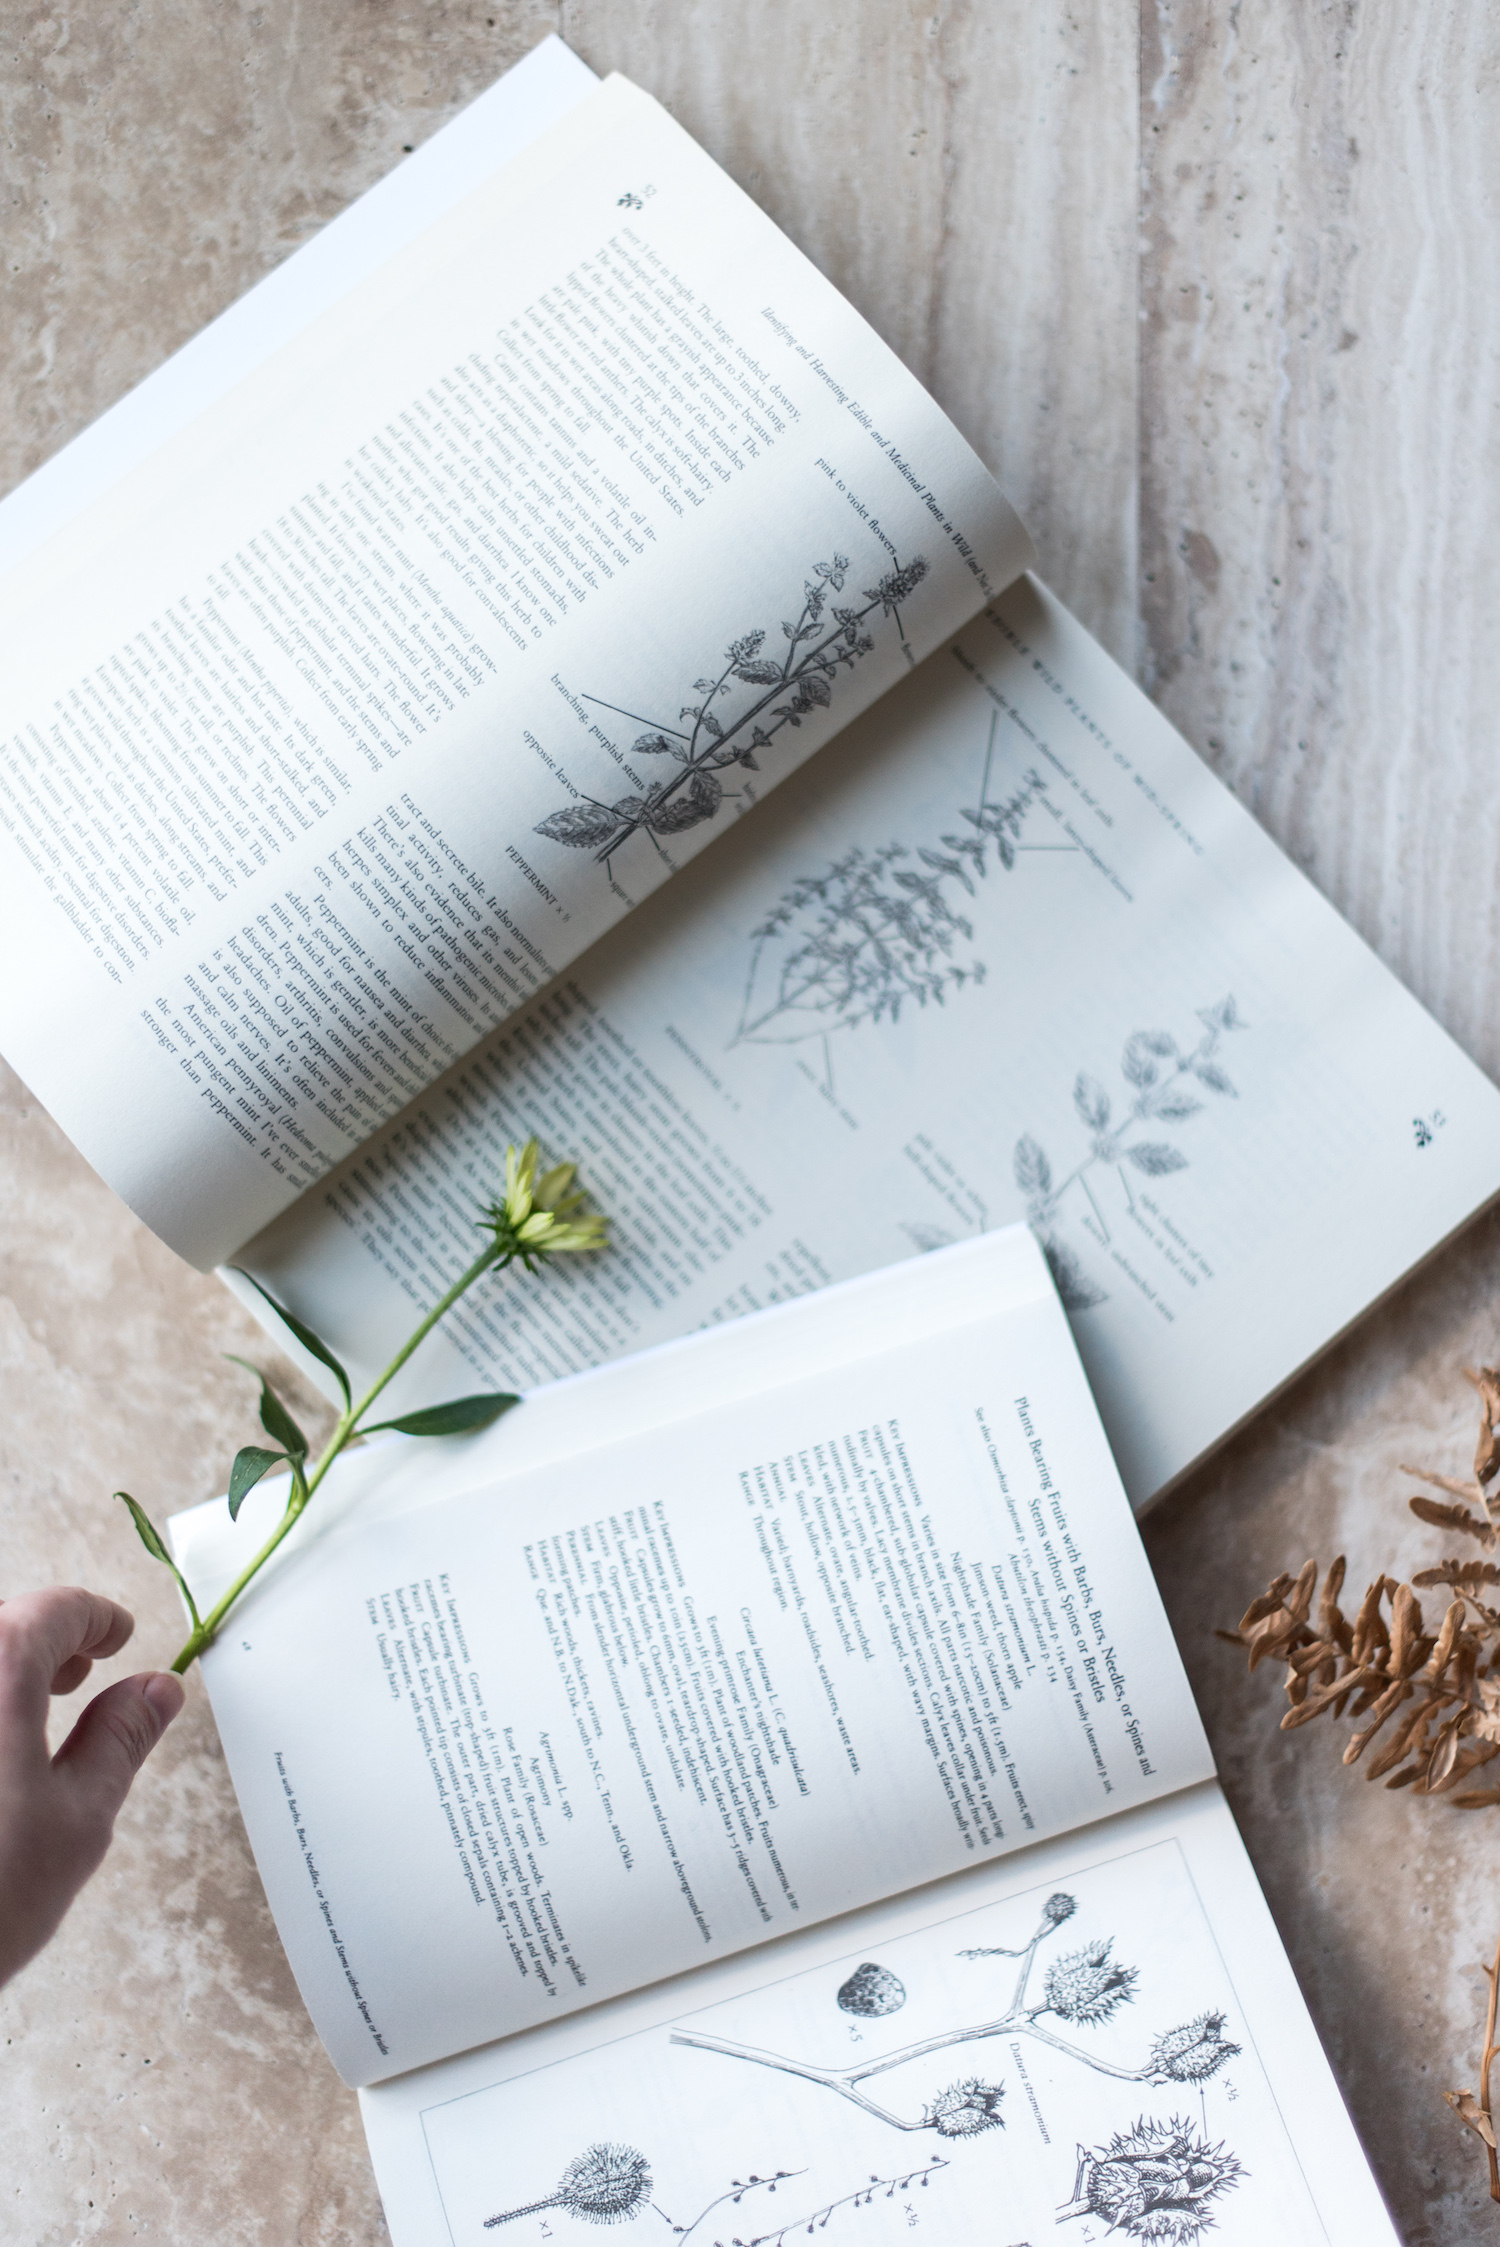
How to press flowers using the book method
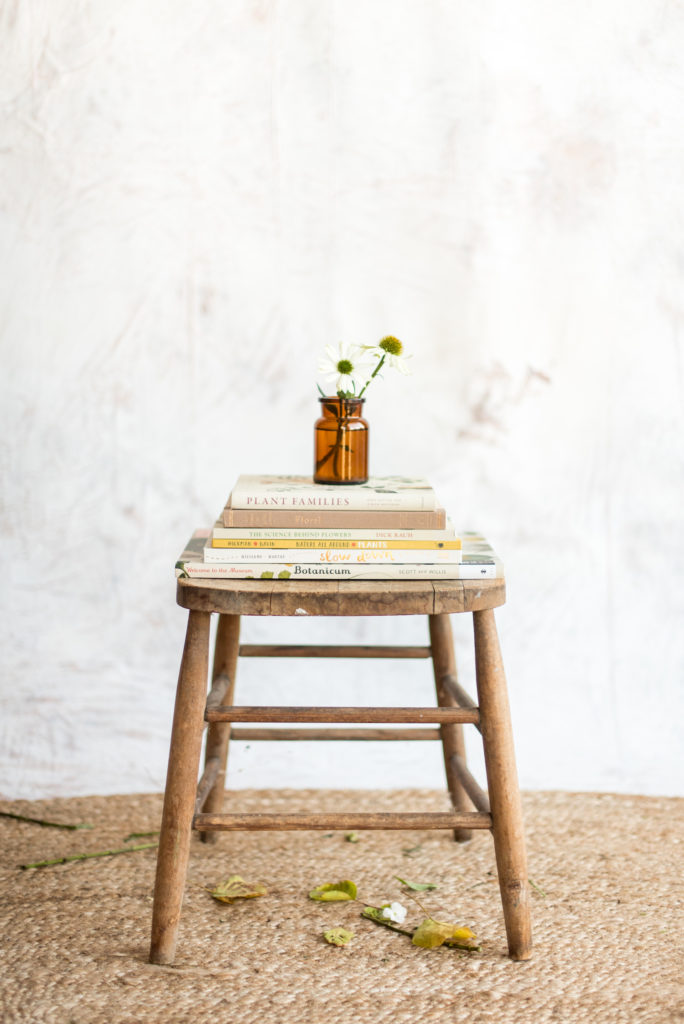
My favorite method for pressing flowers is to use some heavy books! Most of us already have all of the supplies we need sitting around in our houses to press flowers this way.
Supplies you’ll need:
- Your flowers
- A heavy book you don’t mind getting wet/damaged (from the flowers being pressed)
- A few more heavy books (or another heavy object)
- Paper (printer paper, parchment paper, cardboard, facial tissues, etc. Just don’t use paper towels as those often have textured patterns that will imprint on your flowers)

Here’s step-by-step instructions on how to press flowers using the book method:
- Prepare your flowers. Remove any unwanted leaves or trim the stem if it’s too long for your liking.
- Prepare your book. Open the heavy book you’ve chosen to press your flowers in to the specific pages you want to use. Lay a piece of paper on each page.
- Place your flowers. Lay a flower face down on the paper. Depending on how big of a book you’re using, you may be able to lay multiple blooms on one page. Just make sure they’re not too close together, or the moisture from one flower may leak onto the other.
- Repeat. If you can’t fit multiple flowers on one page, you can use other sections of the book to press the rest of your flowers. Repeat steps 1-3 as many times as needed until all of your flowers are in the book. Just be sure not to choose pages too close to each other, or moisture from one flower may leak through the page(s) onto another flower.
- Stack weight on top of the book. Close the book the flowers are in and stack your other heavy books (or object) on top of it. Be careful not to move the flowers during this step.
- Let it sit. Let your flowers sit for 2-3 weeks so that they completely dry out. After 2-3 weeks, check on the flowers to see if they have a papery feel. If so, carefully remove them from the book. You’re done! If not, change out the paper, close the book again, and stack the weight back on top for another couple of weeks so the florals can fully dry.
How to press flowers with an iron
Another excellent way to press flowers is by using an iron. I love it because it definitely helps speed up the pressing process so you don’t have to wait as long to get your pretty final result!
Supplies you’ll need:
- Your flowers
- Paper
- A heavy book
- An iron (with no water in it)
Here’s exactly how to press flowers with an iron:
- Press your flowers in paper. Put your flowers face down between two pieces of paper, and then set the heavy book on top.
- Prepare your iron. While your flowers are being pressed under the book, turn your iron on. Make sure it’s at a low heat setting. Don’t use any steam or mist settings, because the whole goal of this process is to remove all moisture from the flowers.
- Remove the book from the paper. Check to make sure the iron has warmed up. Then, take the book off of the paper, but leave your flowers within the two sheets.
- Press the iron on the paper. Leave the iron on top of the paper for about 15 seconds. You don’t need to slide the iron around on top of the paper; just keep it one place.
- Repeat the process. After about 15 seconds, remove the iron from the paper until the paper has cooled. (This should only take about 15 seconds.) Then, press the iron on the paper for another 15 seconds. Keep repeating this step until your flowers are dried!
How to press flowers using a microwave
The final method I recommend for people wanting to know how to press flowers may be a surprise… use your microwave! This method is awesome because it’s quick and easy.
Supplies you’ll need:
- Flowers from a bouquet
- Paper
- Microwave
- Microwave-safe plate OR a book without any metal in it
Follow these instructions to learn how to press flowers in a microwave:
- Prepare your flowers and paper. Put your flowers in between two pieces of paper.
- Set your flowers in the microwave. Keeping your flowers in the paper, set the items on the tray in your microwave.
- Place the book or plate on top of the items. Then, put your microwave-safe or book on top of the flowers in the microwave. This is what will press them!
- Turn on your microwave. Set the microwave on LOW for 30-60 seconds. Then, check the flowers to see how they look. Make sure you don’t use a high heat setting, as that will probably turn your flowers brown.
- Repeat until dried. Repeat step #4 until your flowers are fully dried out and you’re satisfied with how they look.
Have fun pressing flowers!
Now you know how to press flowers! Any of these three methods will give you a beautiful, sweet result that will let you keep flowers from your favorite bouquets forever.
Have fun as you work on your flower pressing projects! If you have any questions about this tutorial or any other floral design questions, send me a message and let’s chat!
Did you enjoy this blog post? Pin it for later…
Previous Post:
Next Post:
I think you'll also love reading...